1 / 5
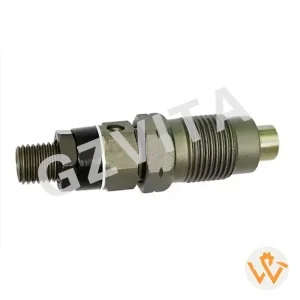
Assembling a fuel injector nozzle on an engine requires careful attention to detail to ensure proper function and prevent leaks. Here are the essential tips for assembling a fuel injector nozzle:
Ensure you have all the required tools (e.g., wrenches, torque wrench, injector puller) and parts (e.g., new O-rings, seals, and the injector nozzle itself) ready before starting.
Clean the injector mounting area on the engine to remove any dirt, debris, or old fuel residue. This helps prevent contamination and ensures a proper seal.
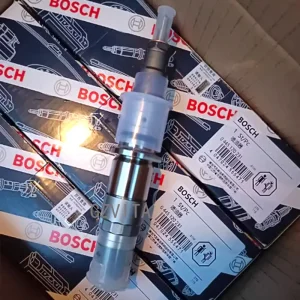
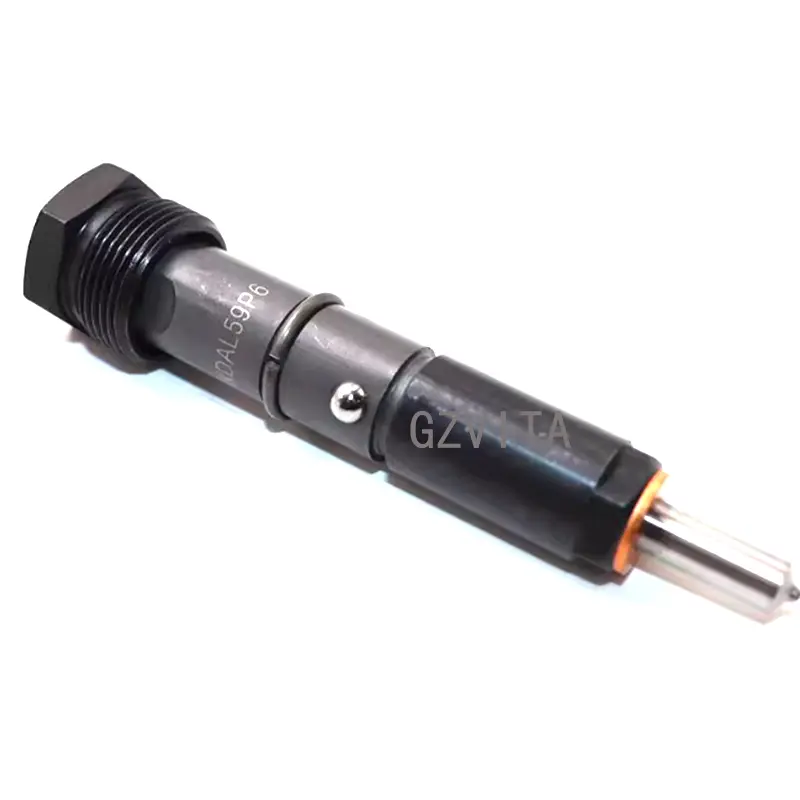
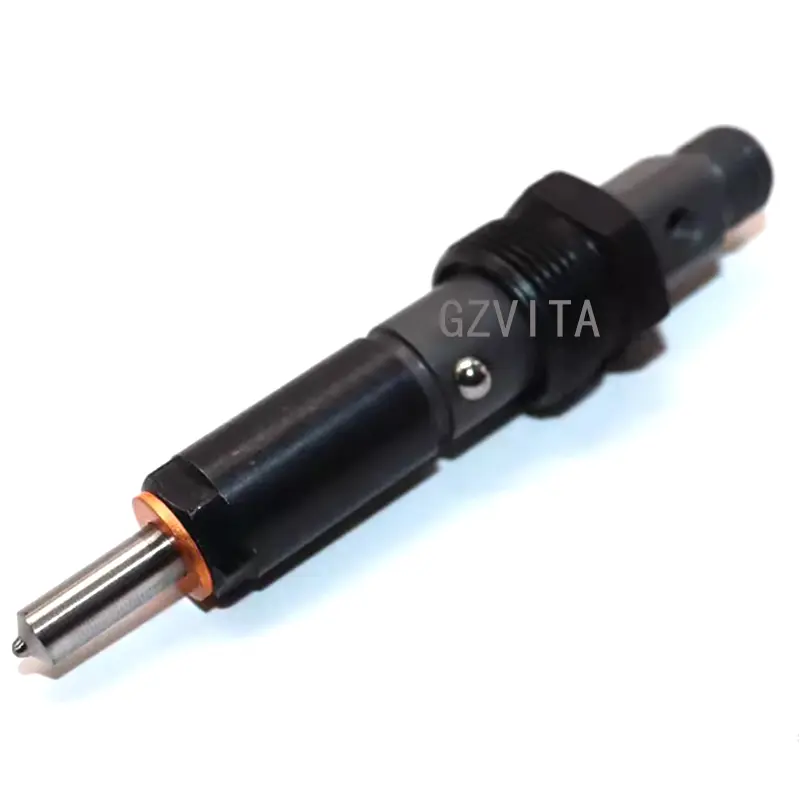
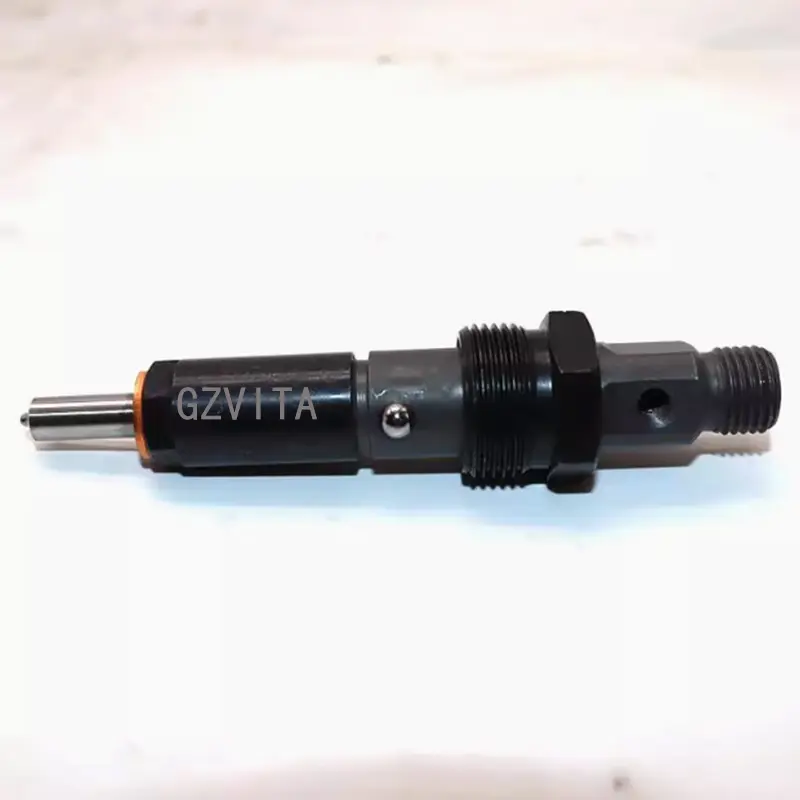
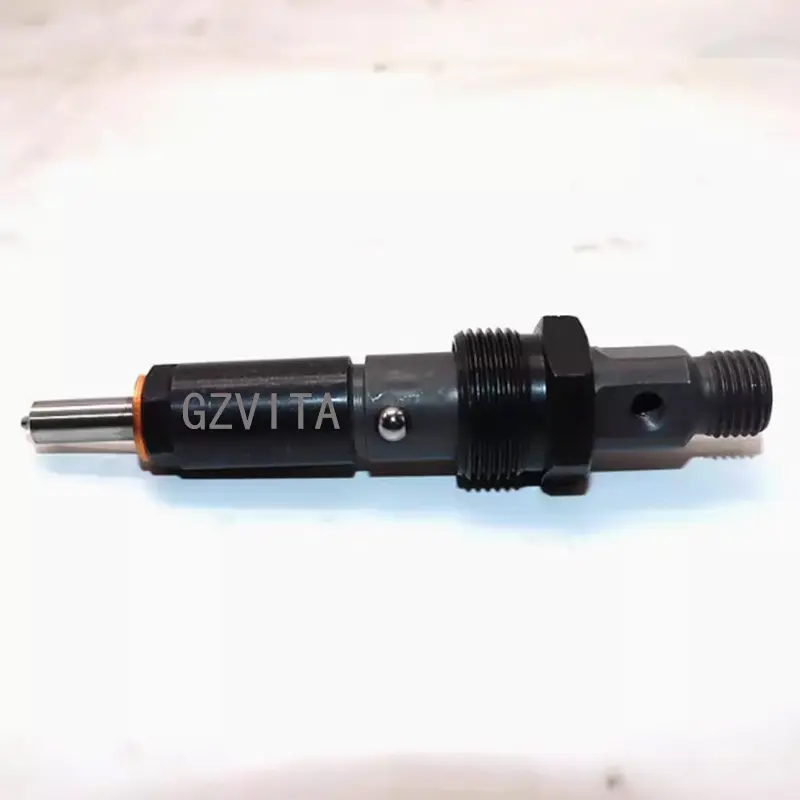
Before installation, inspect the fuel injector nozzle for any signs of damage or wear. Check the O-rings and seals to ensure they are in good condition and not cracked or hardened.
Lightly lubricate the O-rings on the fuel injector nozzle with clean engine oil or a suitable lubricant. This helps them slide into place easily and prevents tearing during installation.
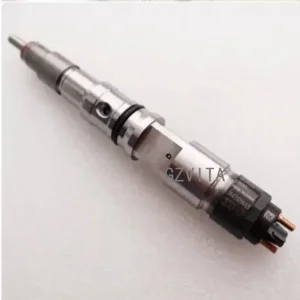
Carefully align the fuel injector nozzle with the mounting hole in the engine. Ensure that it is positioned correctly to avoid cross-threading.
Gently push the injector nozzle into the mounting hole. Avoid using excessive force, as this can damage the injector or the engine.
If the injector is held in place with bolts or clips, secure it according to the manufacturer’s specifications. Use a torque wrench to tighten the bolts to the recommended torque settings to avoid over-tightening, which can cause damage.
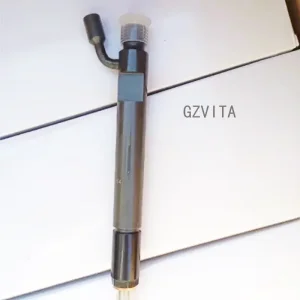
Reconnect the fuel lines to the injector, ensuring that they are properly seated and secured. Check for any signs of wear on the fuel lines and replace them if necessary.
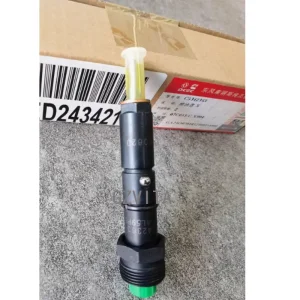
If the injector has an electrical connector, ensure it is properly connected. Check for any corrosion or damage on the connector pins.
Before starting, make sure to gather all essential tools and replacement parts including wrenches, a torque wrench, an injector puller, along with new O-rings and seals.
Cleaning the mounting area on the engine removes dirt, debris, or old fuel residue. This process prevents contamination and ensures a proper, leak-free seal.
Lightly lubricate the O-rings with clean engine oil or an appropriate lubricant before installation. This helps them slide smoothly into place and prevents physical damage.
Ensure the injector nozzle is properly aligned to prevent cross-threading. Gently push it into the mounting hole. Avoid using excessive force, as it can damage either the injector nozzle or the engine.
A torque wrench ensures you tighten the bolts to the exact specifications recommended by the manufacturer. This prevents over-tightening, which can warp or damage components.
Ensure fuel lines are properly seated, secure, and free of wear. For electrical connectors, make sure they are connected firmly and check for any corrosion or physical damage on the pins.