1 / 4
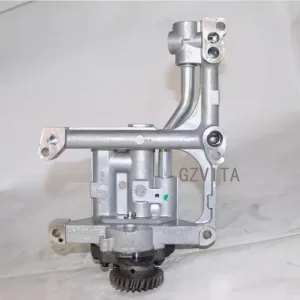
Assembling a Perkins oil pump requires attention to detail and adherence to best practices to ensure proper functionality and longevity. Here are some essential tips to consider during the assembly process:
Before starting the assembly, thoroughly read the manufacturer's manual for the specific Perkins oil pump model. The manual provides crucial information on assembly procedures, torque specifications, and any specific tools required.
Ensure that all components are clean and free from dirt, debris, and old oil. Contaminants can lead to premature wear or failure of the pump. Use lint-free cloths and appropriate cleaning solvents to prepare the parts.
Before assembly, inspect all components for wear, damage, or defects. Check seals, gaskets, and O-rings for any signs of deterioration. Replace any damaged parts to prevent leaks and ensure proper operation.
Utilize the correct tools for assembly, including torque wrenches, screwdrivers, and pliers. Using the right tools helps prevent damage to components and ensures that fasteners are tightened to the specified torque.
Adhere to the torque specifications provided in the manual for all bolts and fasteners. Over-tightening can lead to component damage, while under-tightening can result in leaks or operational issues.
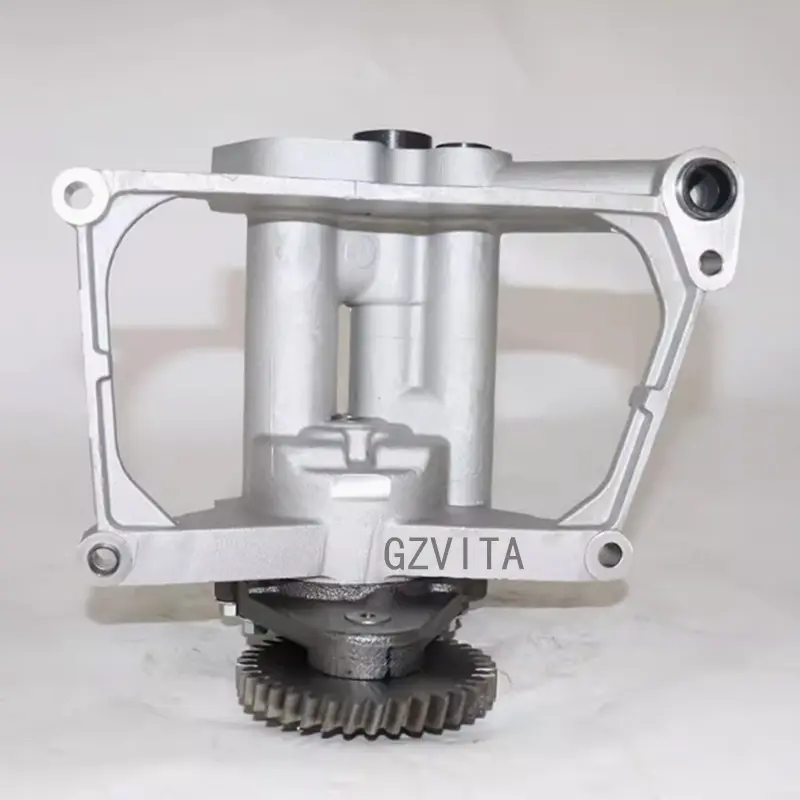
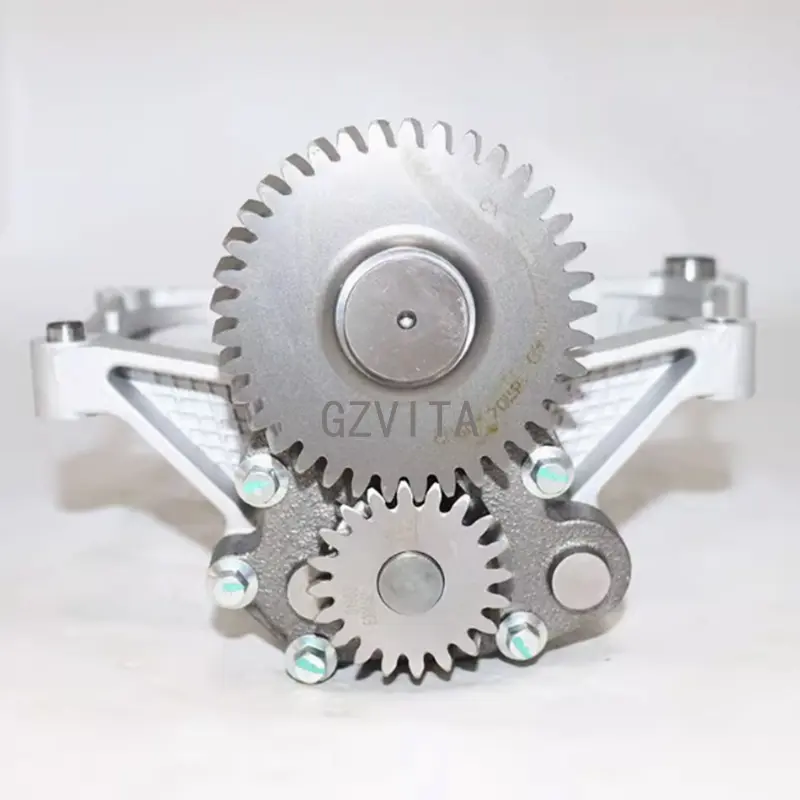
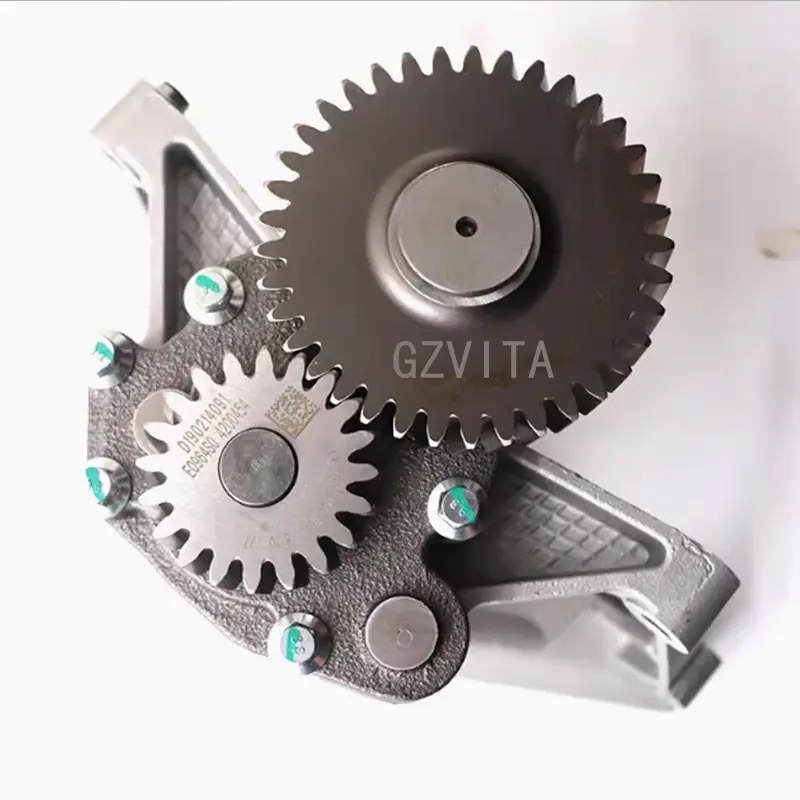
Ensure that all components are assembled in the correct orientation. Misalignment can lead to improper function and potential damage to the pump. Refer to diagrams in the manual for guidance.
Apply a light coat of oil to moving parts and seals during assembly. This helps reduce friction during initial startup and ensures a proper seal.
As you assemble the pump, check that all parts fit together smoothly without excessive force. If parts do not fit correctly, recheck the assembly process to identify any misaligned components.
After assembly, perform a functional test of the oil pump before installation. This may include checking for leaks and ensuring that the pump operates smoothly when powered.
Always wear appropriate personal protective equipment (PPE) during assembly, including gloves and safety glasses. Ensure that the workspace is safe and organized to prevent accidents.
The manufacturer's manual details crucial model-specific procedures, necessary tools, and accurate torque specifications that ensure correct assembly and prevent component damage.
Contaminants, dirt, and old debris can cause premature wear on internal gears and seals, potentially leading to mechanical failure of the pump once in operation.
Over-tightening bolts can stress, crack, or damage components, while under-tightening can cause the fasteners to work loose, leading to oil leaks and pressure drops.
Yes, applying a light coat of clean engine oil to moving parts and seals reduces friction during initial startup and helps establish a proper seal from the beginning.
Do not force the parts together. Stop, refer to the manual's diagrams, and check for misaligned components or incorrect orientation before retrying.
Always wear suitable PPE, including protective gloves and safety glasses, and maintain a clean, organized, and hazard-free workspace.