1 / 3
Ensure the excavator is on a stable surface and turned off. Engage the parking brake, remove the key from the ignition, and wear safety gloves and goggles to protect yourself.
Depending on the model, you may need to remove covers or panels to access the distribution valve. Use the appropriate tools to do this carefully.
Before removing the old distribution valve, carefully disconnect the hydraulic lines connected to it. Use a clean rag to catch any hydraulic fluid that may leak out. Label the lines to ensure correct reinstallation.
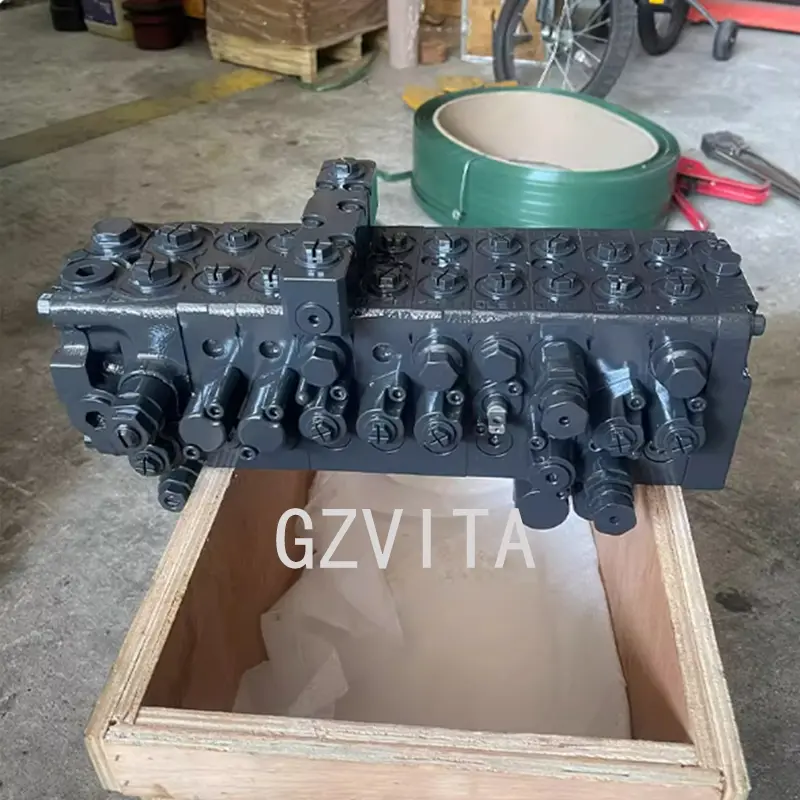
Unscrew and remove the bolts or fasteners holding the old distribution valve in place. Keep these fasteners, as you will need them for the new valve. Carefully lift the old valve out of its mounting position.
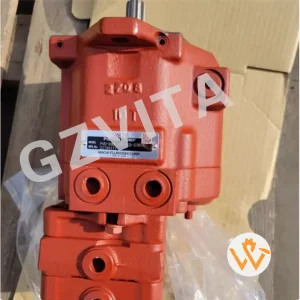
Compare the new distribution valve with the old one to ensure they are identical in size and configuration. If necessary, apply a small amount of hydraulic sealant to the threads of the new valve to prevent leaks.
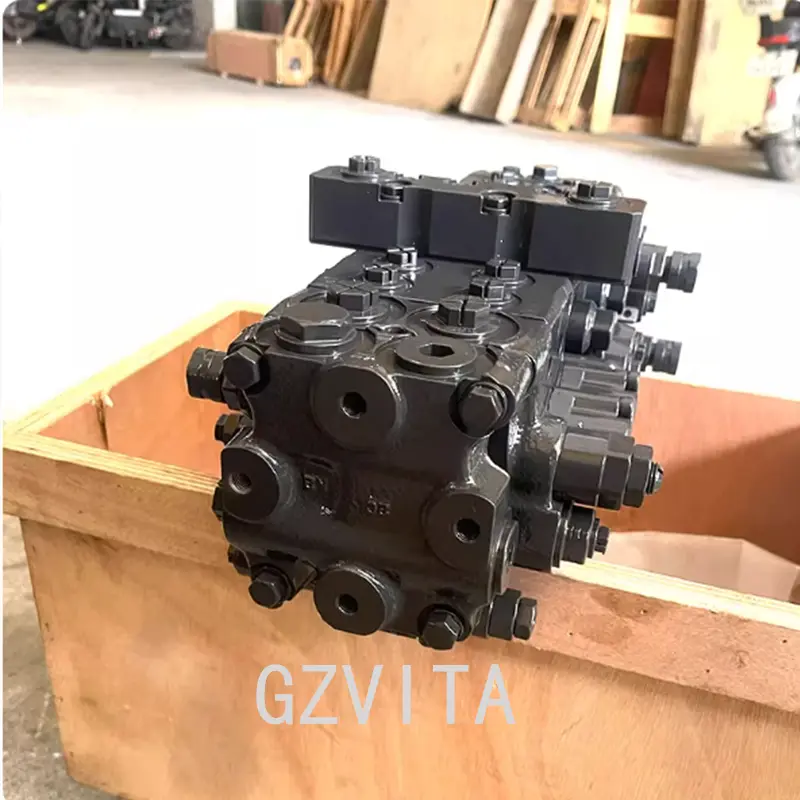
Position the new distribution valve in place and secure it with the original bolts or fasteners. Tighten them to the manufacturer's specified torque settings using a torque wrench.
Reconnect the hydraulic lines to the new distribution valve, ensuring that they are connected to the correct ports as labeled earlier. Tighten the fittings securely to prevent leaks.
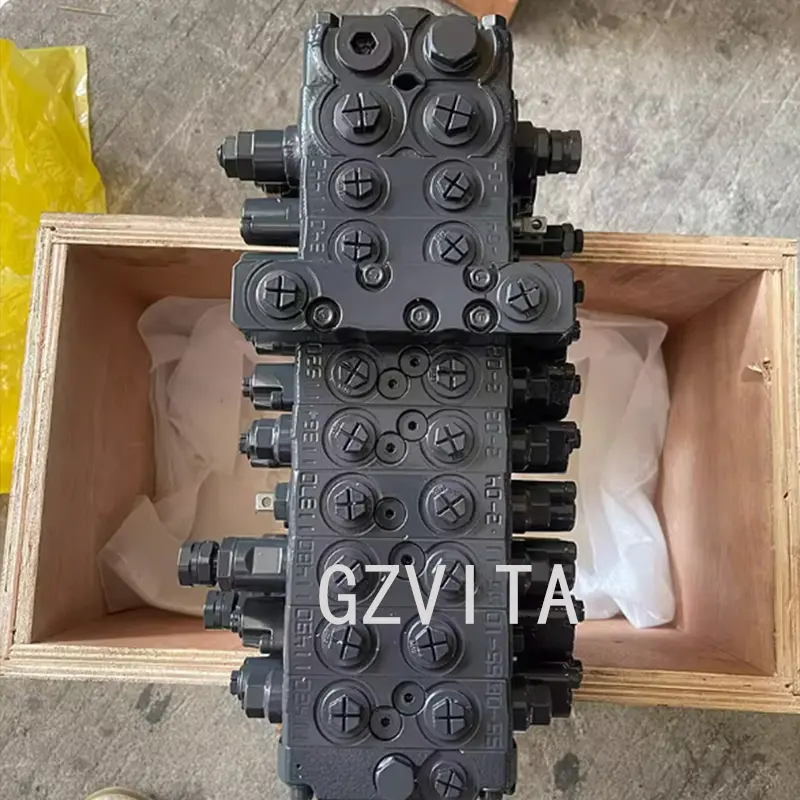
Before starting the excavator, double-check all connections and fittings to ensure they are tight and secure. If you lost any hydraulic fluid during the process, refill the hydraulic reservoir to the appropriate level.
Start the excavator and allow it to run for a few minutes. Operate the hydraulic functions to ensure everything is working correctly. Check for any leaks around the distribution valve and connections.
Reattach any covers or panels you removed. Monitor the excavator during its first few hours of operation to ensure everything is functioning properly and there are no leaks. If you encounter any issues, consult the excavator service manual or contact a professional technician.
Ensure the excavator is parked on a stable, level surface and completely turned off. Engage the parking brake, remove the key, and wear protective gloves and safety goggles before handling any hydraulic components.
Labeling the hydraulic lines ensures that they are reconnected to the correct ports on the new distribution valve. Incorrect connections can cause system malfunctions or damage to the excavator's hydraulic components.
If necessary, you can apply a small amount of manufacturer-approved hydraulic sealant to the threads to prevent leaks. Avoid excessive sealant as it can contaminate the hydraulic system.
After tightening all bolts to the specified torque and reconnecting the lines, start the excavator, run it for a few minutes, and test all hydraulic operations while carefully checking for any fluid leaks around the connections.
Immediately turn off the engine, relieve any hydraulic pressure, and check the tightness of the leaking connection. If the leak persists, verify the seal/O-ring condition or consult the excavator service manual.