Assembling the engine cylinder head of an excavator is a critical task that requires precision and attention to detail. The cylinder head plays a vital role in the engine's performance, sealing the combustion chamber and housing components such as valves and injectors. Here's a step-by-step guide on how to assemble an excavator engine cylinder head:
1 Preparation
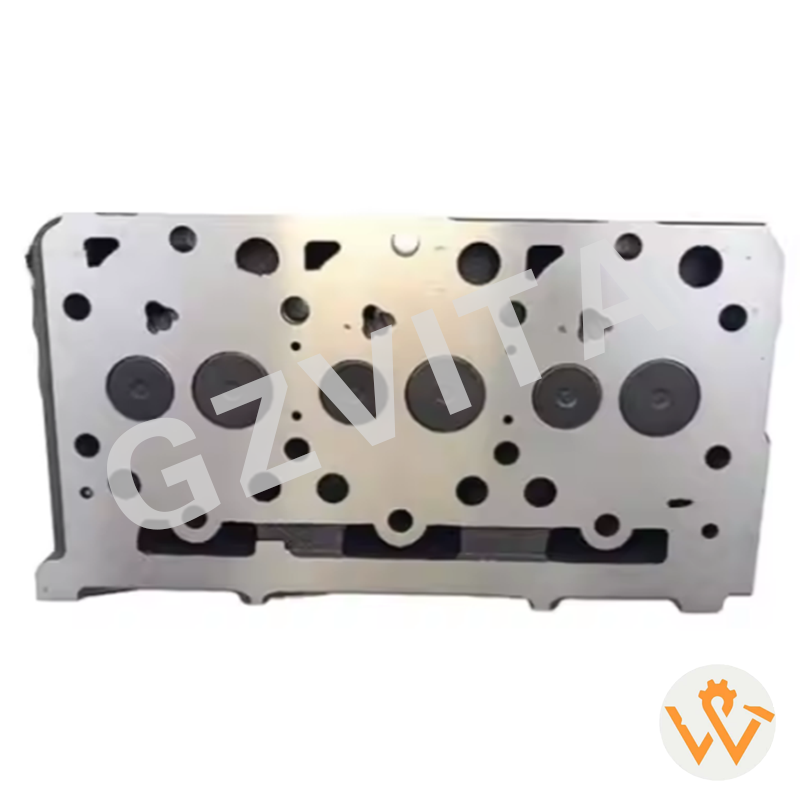
Clean the Components: Ensure that the cylinder head, engine block, and all related components are clean and free of debris. Use a gasket scraper to remove any old gasket material from the surfaces. Check the cylinder head for cracks, warping, or other damage. Inspect valves, springs, and other components for wear and replace as necessary.
2 Install Valve Seals
If your cylinder head requires new valve seals, install them first. Use a valve seal installer or a suitable tool to press the seals into place on the valve guides.
3 Install Valves and Springs
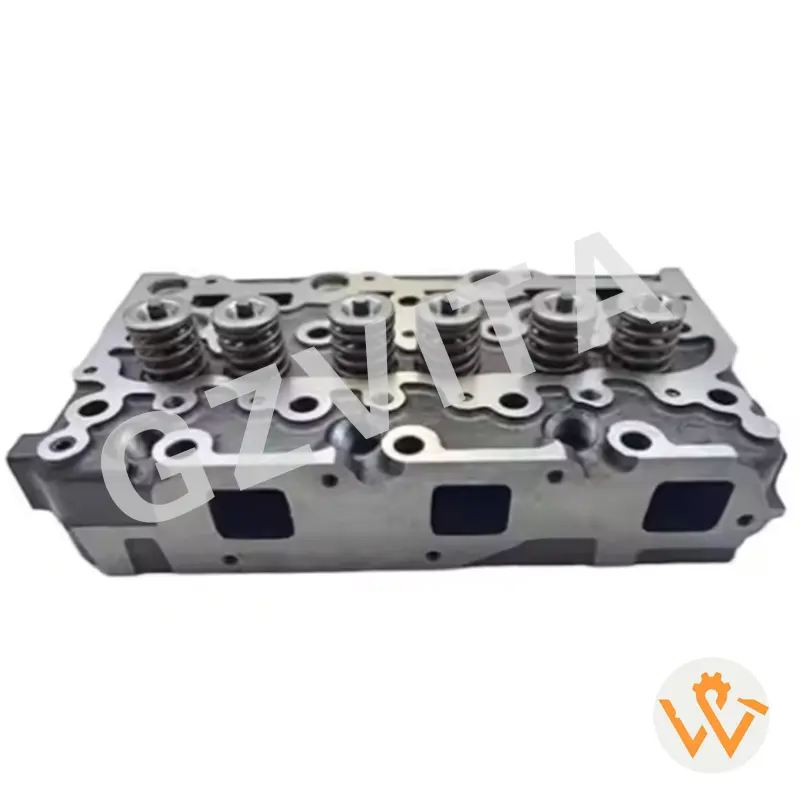
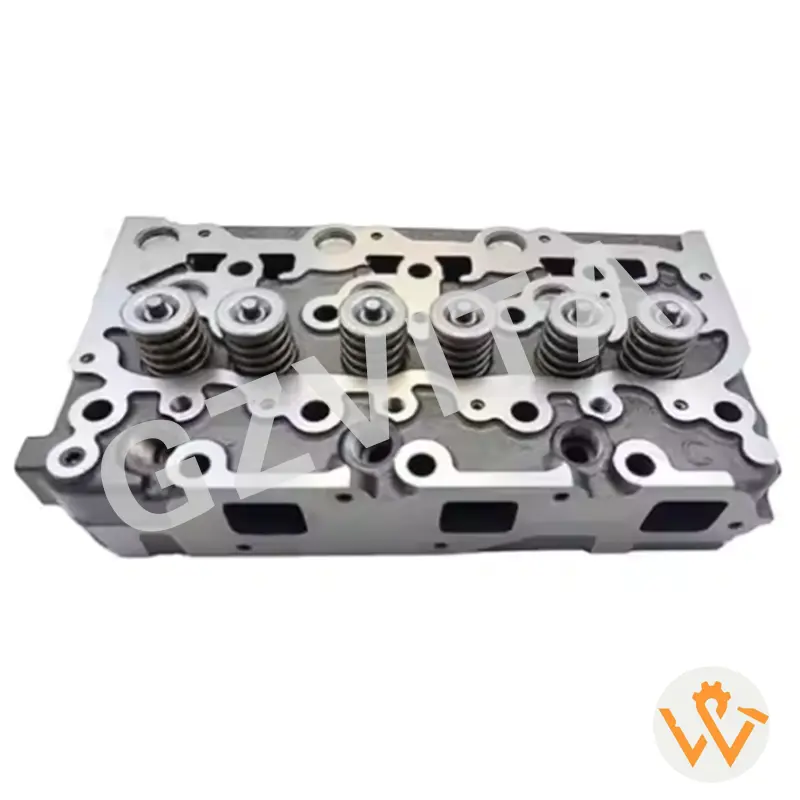
Insert Valves: Place the valves into their respective seats in the cylinder head. Ensure they are oriented correctly (intake and exhaust). Place the valve springs over the valves. Use a valve spring compressor to compress the springs and install the retainers securely.
4 Install the Cylinder Head Gasket
Place a new cylinder head gasket onto the engine block. Ensure that it is aligned correctly with the bolt holes and passages.
5 Position the Cylinder Head
Carefully lower the cylinder head onto the engine block, ensuring that it aligns with the gasket and bolt holes. Avoid disturbing the gasket during this process.
6 Install Cylinder Head Bolts
Insert the cylinder head bolts into their respective holes. If the bolts are new, apply a small amount of engine oil to the threads to ensure proper torque readings.
7 Torque the Cylinder Head Bolts
Using a torque wrench, tighten the cylinder head bolts in the specified sequence and to the manufacturer's recommended torque specifications. This is usually done in multiple stages (e.g., initial torque followed by a final torque). Refer to the service manual for the correct tightening sequence, as this is crucial for even pressure distribution.
8 Install Additional Components
Depending on the engine design, you may need to install additional components such as rocker arms, pushrods, camshaft (if part of the head assembly), intake and exhaust manifolds, and fuel injectors.
9 Final Checks
Double-check all connections, bolts, and components to ensure everything is secure and properly installed. Ensure that all gaskets and seals are in place to prevent leaks.
10 Reassemble Other Engine Components
Once the cylinder head is securely in place, reassemble any other engine components that were removed during the disassembly process.