
1 / 3
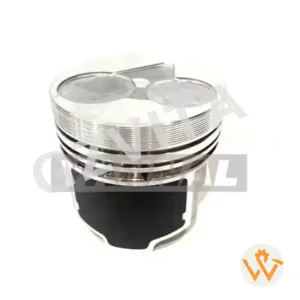
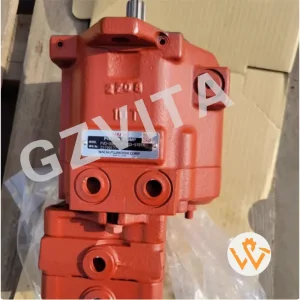
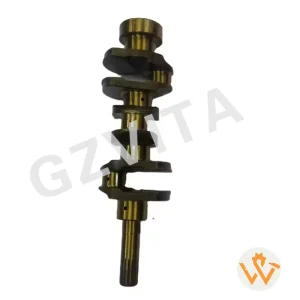
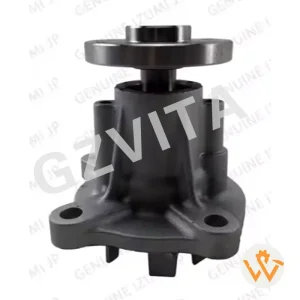
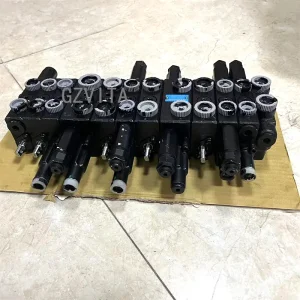
Installing engine pistons is a critical step in engine assembly or overhaul. Proper installation is essential for ensuring optimal engine performance, efficiency, and longevity. Here are important notes and steps to consider during the installation of engine pistons:
Ensure the engine is turned off and cool. Wear safety glasses and gloves to protect yourself during the installation process.
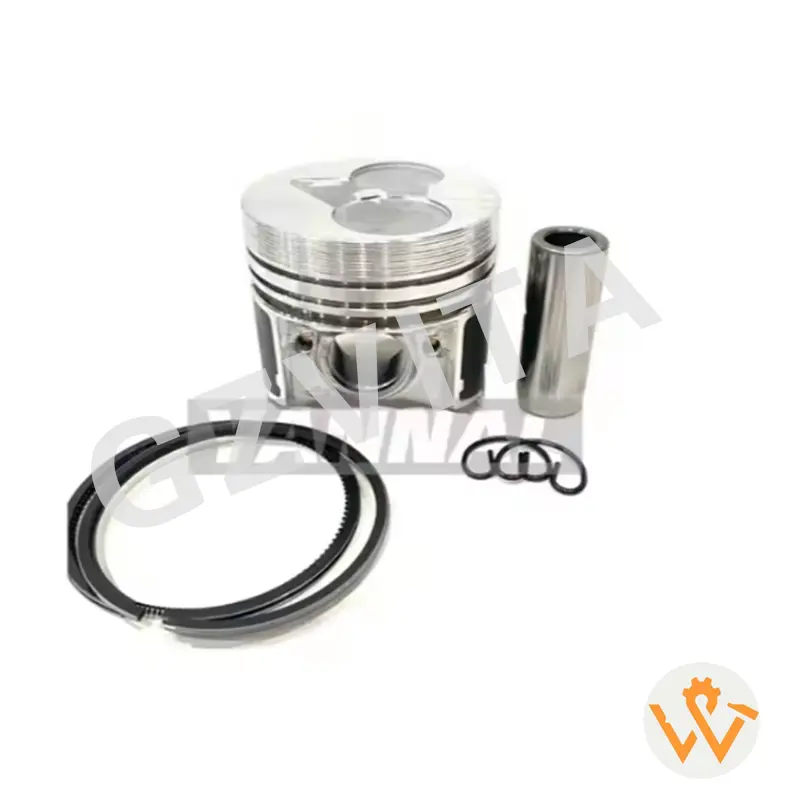
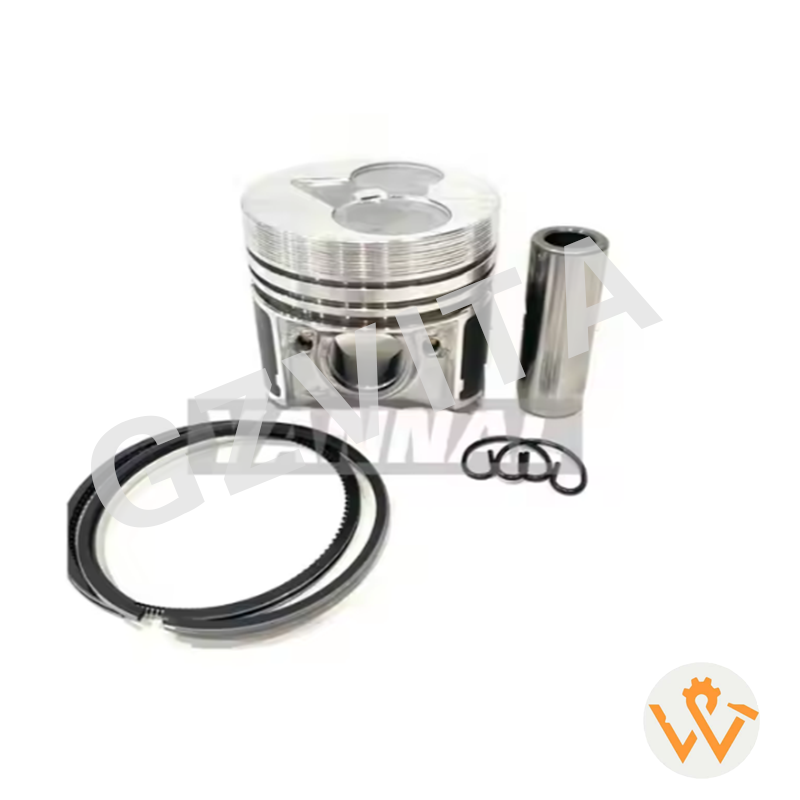
You will need a variety of tools, including a torque wrench, piston ring compressor, socket set, and possibly a piston pin tool. Have the new pistons, piston rings, and any necessary gaskets or seals ready.
Always refer to the specific service manual for your engine model for detailed instructions, torque specifications, and any specific procedures related to piston installation.
Clean the cylinder bores thoroughly to remove any debris, old oil, or contaminants. Inspect the cylinder walls for wear or damage.
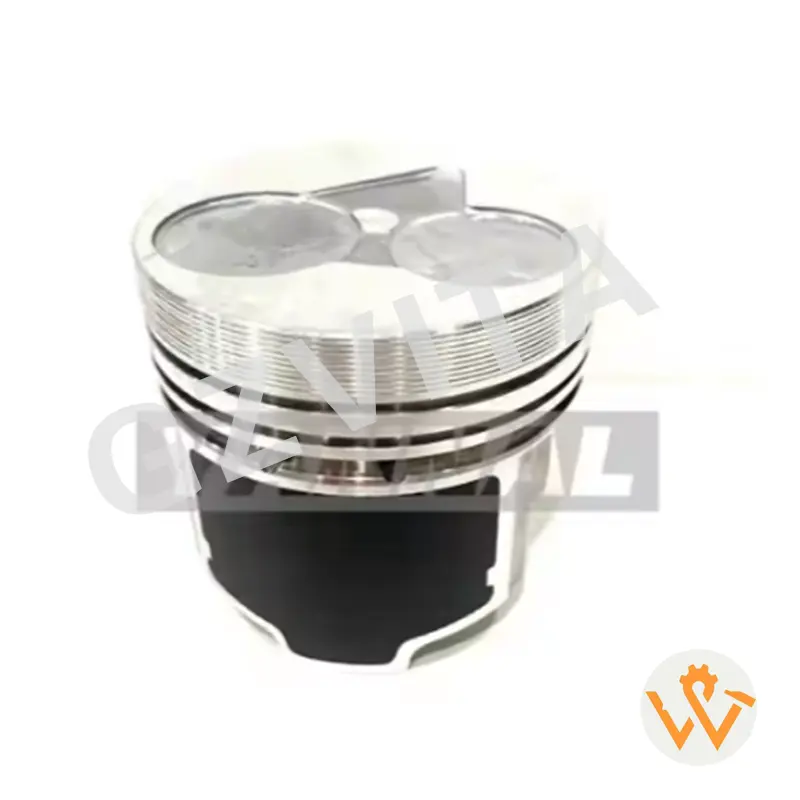
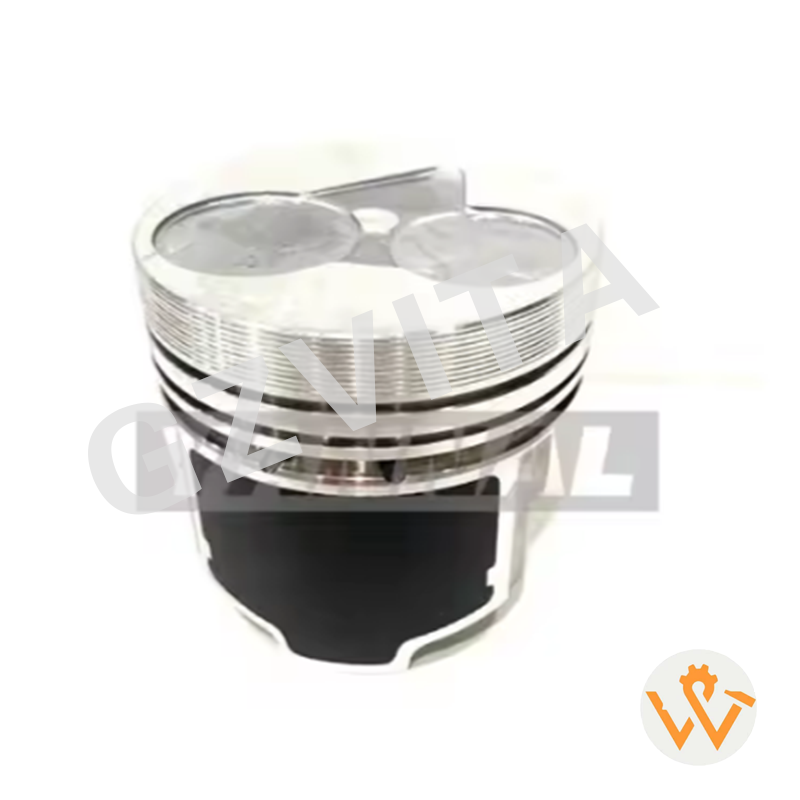
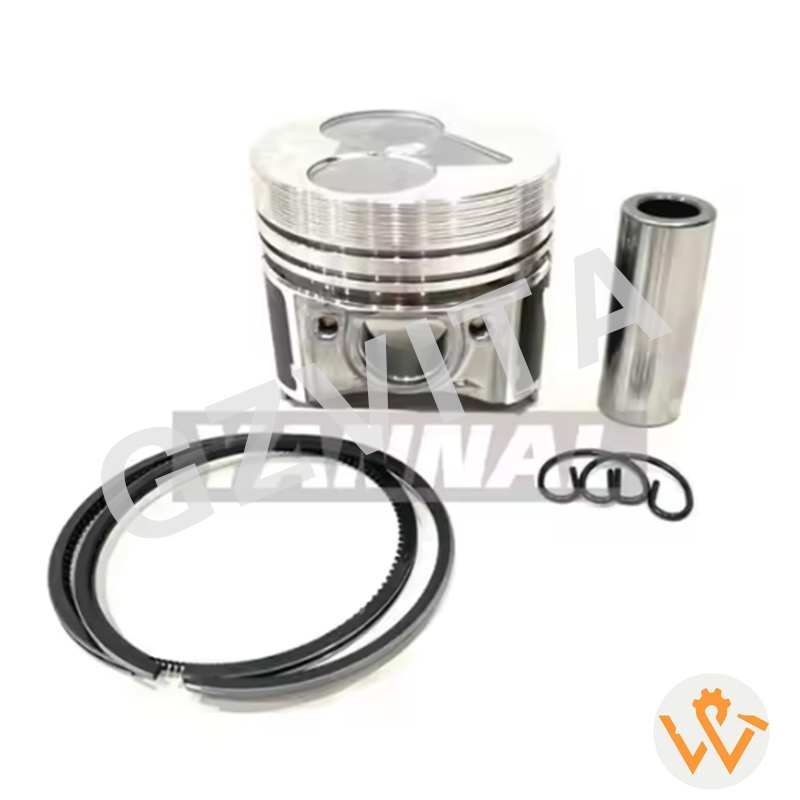
Before installing the pistons, install the piston rings onto each piston. Ensure that the rings are oriented correctly according to the manufacturer’s specifications. Use a piston ring compressor to compress the rings for easier installation into the cylinder.
Apply a light coat of engine oil to the piston skirts and the piston rings. This lubrication helps reduce friction during installation and initial startup.
Align the piston with the corresponding cylinder. Ensure that the piston is oriented correctly, with the markings (if any) facing the front of the engine or as specified by the manufacturer.
Carefully slide the piston into the cylinder bore. Use the piston ring compressor to help guide the piston into the cylinder without damaging the rings. Gently tap the piston with a soft mallet if necessary, but avoid excessive force.
Once the piston is in place, install the piston pin (also known as the wrist pin) through the piston and connecting rod. Ensure that the pin is properly seated and secured with retaining clips or circlips.
Follow the manufacturer’s specifications for torque settings and the correct sequence for tightening the connecting rod bolts. This is crucial for ensuring a secure connection between the piston and the connecting rod.
Repeat the above steps for each piston in the engine, ensuring that each one is installed correctly and securely.
After all pistons are installed, check for any signs of misalignment or improper installation. Ensure that all retaining clips are in place and that the connecting rod bolts are torqued to specifications.
After installation, check for proper clearance between the pistons and the cylinder walls. This is important for preventing scuffing and ensuring smooth operation.
Before starting the engine, ensure that the oil system is primed and that the engine is adequately lubricated.
After installation, follow the manufacturer’s recommended break-in procedures for the engine to ensure proper seating of the piston rings and optimal performance.
Proper installation is essential for achieving optimal engine performance, running efficiency, and preventing premature engine component failure or wear.
Yes, applying a light coat of clean engine oil to the piston skirts and the rings helps minimize friction during the installation process and protects the parts on initial startup.
You should use a dedicated piston ring compressor to keep the rings compressed and aligned correctly, allowing them to slide smoothly into the cylinder bore.
Pistons usually have markings indicating the front orientation. Ensure these markings face the front of the engine, or as specified by your engine manual.
Checking clearance between the pistons and cylinder walls ensures that they will not bind or scuff during operation under thermal expansion.
Ensure the engine oil system is primed, all rod bolts are torqued, and that you follow the manufacturer's recommended engine break-in procedures for proper piston ring seating.