1 / 3
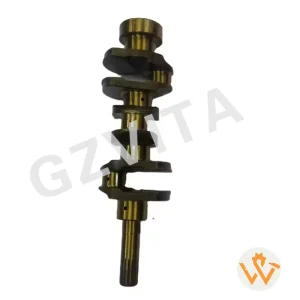
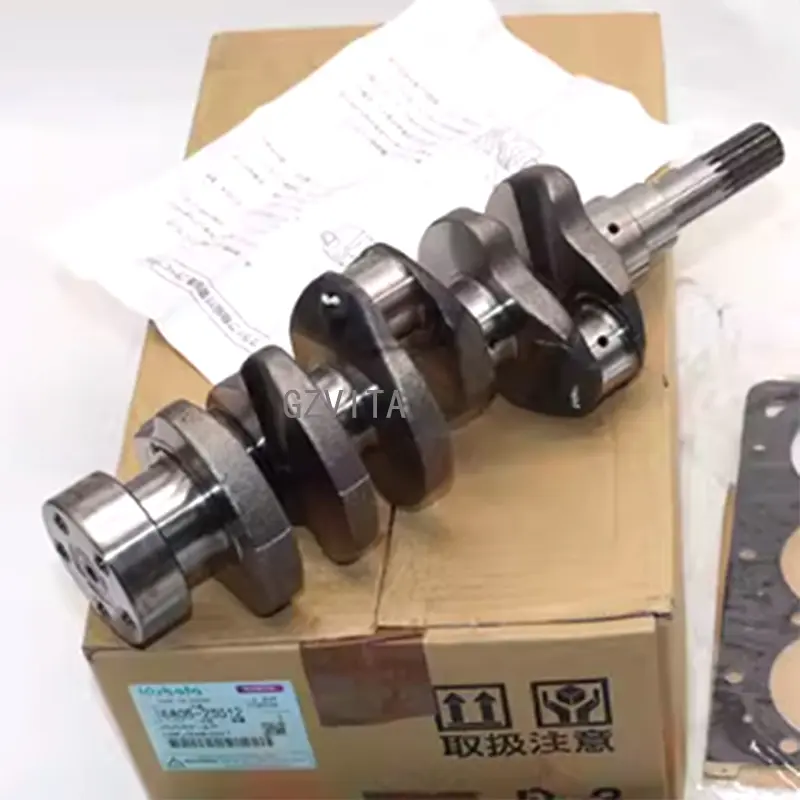
Clean the Components: Before installation, thoroughly clean the crankshaft, main bearings, and engine block surfaces to remove any dirt, oil, or debris. This helps ensure proper seating and reduces the risk of contamination.
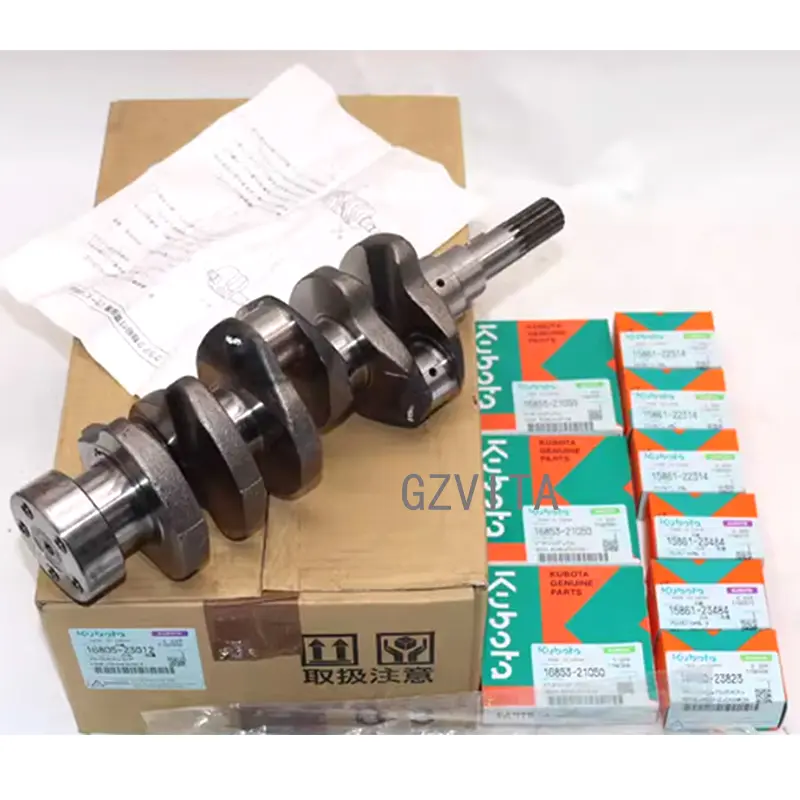
Inspect for Damage: Check the crankshaft and bearings for any signs of wear, damage, or defects. Look for scratches, scoring, or excessive wear on the bearing surfaces.
Ensure you have all the required tools, such as a torque wrench, socket set, and any specialized tools needed for your specific engine model.
Have new main bearings, oil seals, and any other necessary components ready for installation.
Apply a thin layer of engine oil or assembly lube to the main bearings and the crankshaft journals. This helps reduce friction during the initial startup and ensures proper lubrication.
Carefully position the crankshaft into the engine block, ensuring that it is aligned with the main bearing caps. Be cautious not to damage the bearings during this process.
Place the main bearings into their respective positions in the engine block and on the crankshaft. Ensure they are seated properly and aligned with the locating tabs (if applicable).
Position the main bearing caps over the crankshaft and bearings. Ensure that the caps are oriented correctly, as they are often marked for proper alignment. Hand-tighten the bolts to hold the caps in place before applying torque.
Use a torque wrench to tighten the main bearing cap bolts to the manufacturer's specified torque settings. Follow the recommended sequence (usually a crisscross pattern) to ensure even pressure distribution.
After installation, check for any excessive play in the crankshaft. It should rotate freely without binding or excessive resistance.
If applicable, install the front and rear oil seals to prevent oil leaks. Ensure they are seated properly and lubricated.
Once the crankshaft is installed, perform a final inspection to ensure everything is in place and properly torqued. Check for any signs of misalignment or damage.