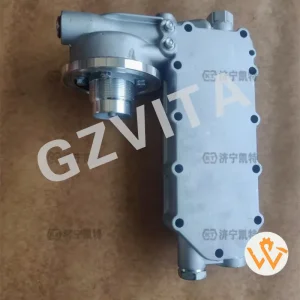
How to Install a Hydraulic Fan Solenoid Valve?
Installing a hydraulic fan solenoid valve is a critical task that requires attention to detail and adherence to safety protocols. The solenoid valve controls the operation of the hydraulic fan, which is essential for maintaining optimal engine temperatures in excavators and other heavy machinery. Below is a step-by-step guide to help you with the installation process.
Tools and Materials Needed
Installation Steps
- Ensure the excavator is turned off and parked on a level surface.
- Disconnect the battery to prevent any electrical accidents.
- Wear safety gloves and goggles to protect yourself during the installation.
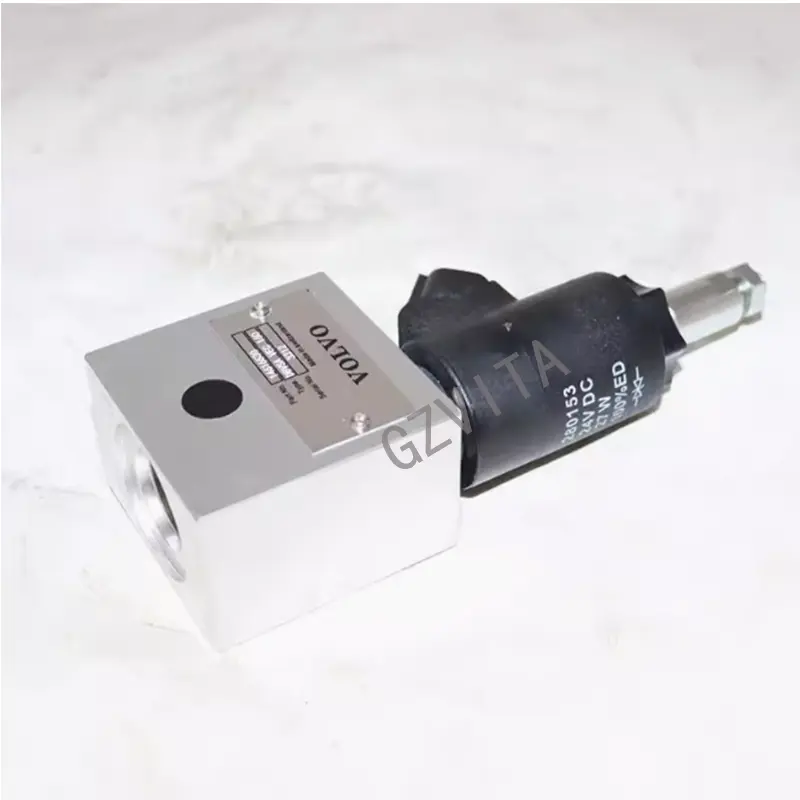
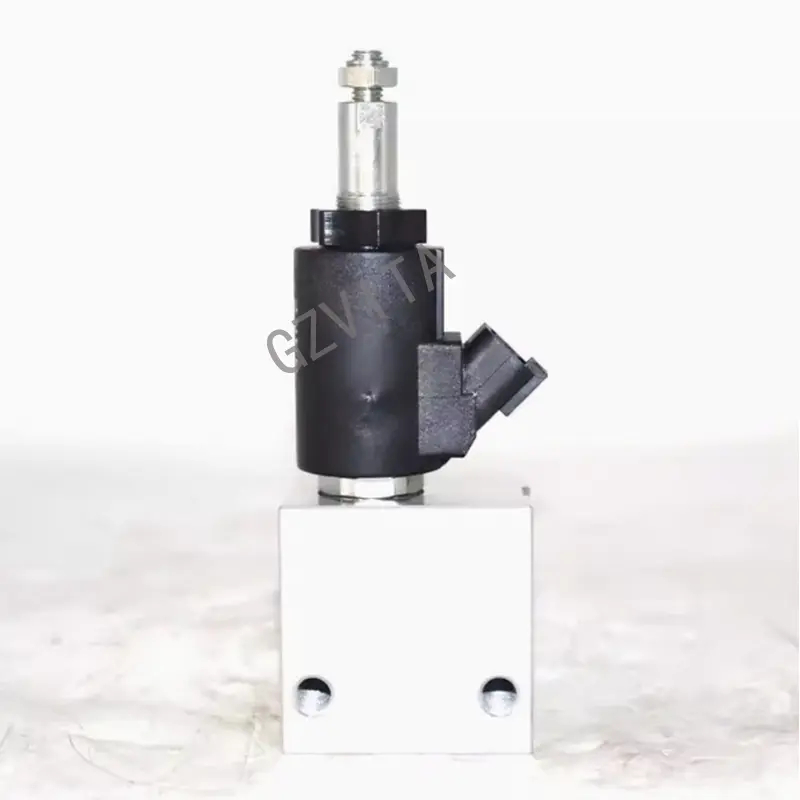
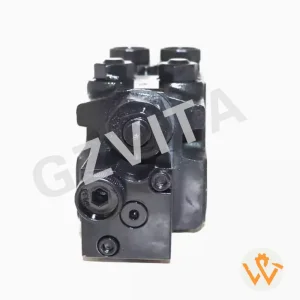
- Identify the location of the existing hydraulic fan solenoid valve. This is typically found near the hydraulic system or the fan assembly.
- Refer to the excavator's service manual for specific details on the location and wiring diagram.
- Disconnect any electrical connectors attached to the old solenoid valve. Take note of the wiring configuration for reinstallation.
- Use the appropriate wrenches to remove the hydraulic lines connected to the solenoid valve. Be prepared for some hydraulic fluid to spill; use rags to catch any leaks.
- Unscrew and remove the old solenoid valve from its mounting bracket.
- Before installation, inspect the new solenoid valve for any damage or defects.
- If applicable, apply thread sealant to the threads of the hydraulic connections to prevent leaks.
- Position the new solenoid valve in the same location as the old one and secure it to the mounting bracket using the appropriate fasteners.
- Reconnect the hydraulic lines to the new solenoid valve, ensuring they are tightened to the manufacturer's specifications. Use a torque wrench if necessary.
- Reconnect the electrical connectors to the solenoid valve, following the wiring configuration you noted earlier. Ensure that the connections are secure and free from corrosion.
- Before starting the excavator, double-check all connections for tightness and ensure there are no visible leaks.
- If you lost any hydraulic fluid during the removal of the old solenoid valve, refill the hydraulic system to the appropriate level as specified in the service manual.
- Reconnect the battery terminals and ensure they are secure.
- Start the excavator and allow it to run for a few minutes. Monitor the hydraulic fan operation and check for any leaks around the solenoid valve.
- If everything is functioning correctly, the installation is complete.
Frequently Asked Questions (FAQ)
What is the function of the hydraulic fan solenoid valve?
The solenoid valve controls the operation and speed of the hydraulic fan, which is essential for maintaining optimal engine temperature in excavators and other heavy machinery.
Why do I need to disconnect the battery before installation?
Disconnecting the battery is a crucial safety measure to prevent any short circuits, electrical shocks, or accidental engine starts during the installation process.
Should I use thread sealant on the hydraulic connections?
Yes, if applicable, you should apply a suitable thread sealant to the hydraulic connection threads to ensure a leak-proof seal and prevent hydraulic fluid loss.
How can I tell if the installation was successful?
After installation, run the excavator for a few minutes. If the hydraulic fan operates correctly and there are no signs of fluid leaks around the new solenoid valve, the installation is successful.
What should I do if I notice a leak after testing?
Turn off the engine immediately, disconnect the battery, and inspect the connections. Tighten them to the manufacturer's specified torque using a torque wrench, or check if the sealant was properly applied.