1 / 3
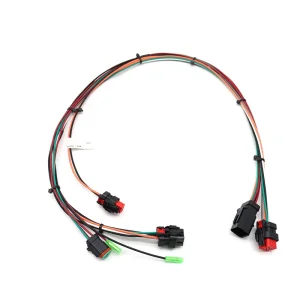
Installing a wiring harness in construction machinery is a critical task that ensures proper electrical connections for various components, including sensors, lights, and control systems. Here's a step-by-step guide on how to install a wiring harness:
Tools and Materials Needed:
Ensure the machinery is turned off and parked on a stable surface. Engage the parking brake and disconnect the battery to prevent any accidental starts.
If you are replacing an old wiring harness, carefully document the connections and routing of the old harness. Take photos if necessary. Disconnect all connectors and remove any fasteners securing the old harness in place.
Before installing the new wiring harness, inspect the area for any signs of wear, damage, or corrosion. Clean the area to ensure a proper fit and prevent contamination.
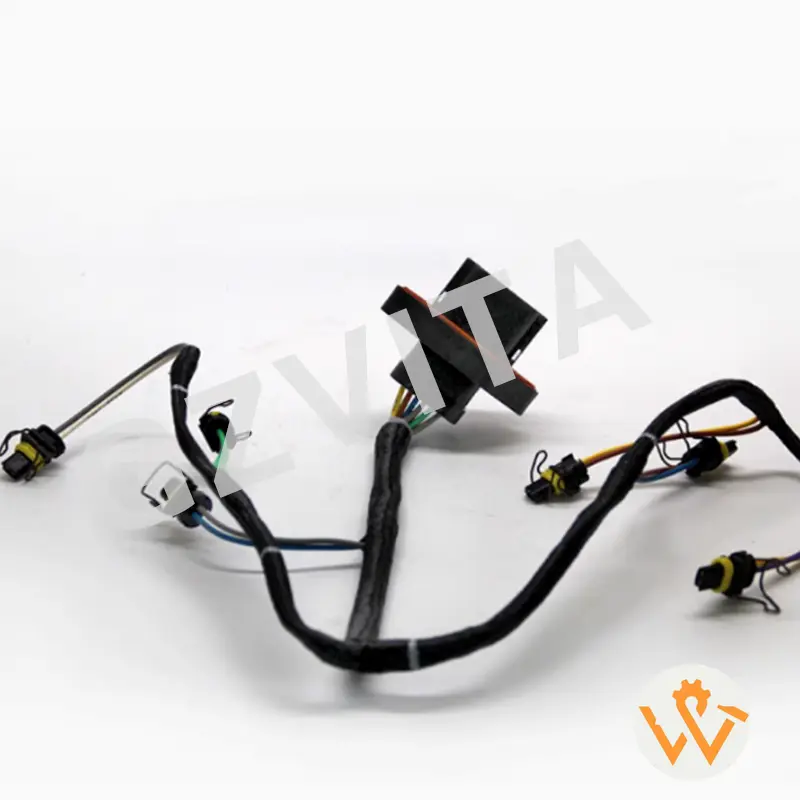
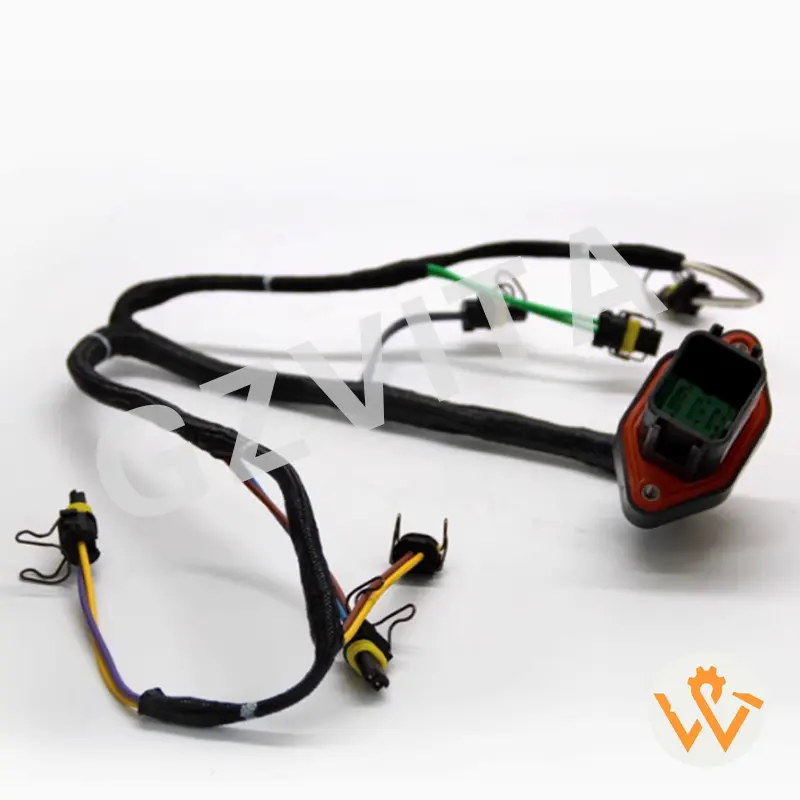
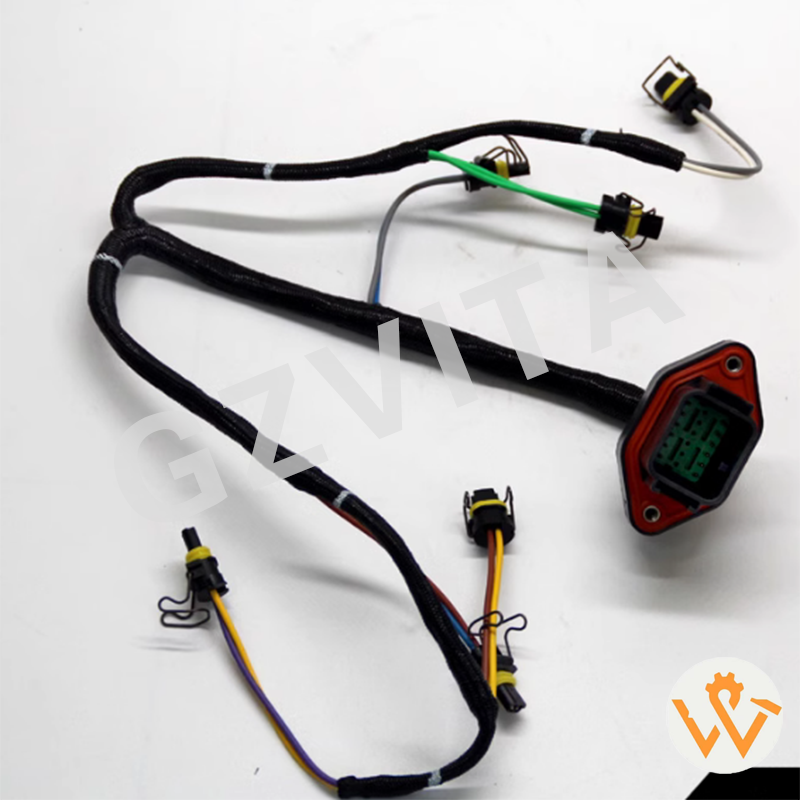
Begin routing the new wiring harness according to the manufacturer's specifications. Follow the same path as the old harness, ensuring it does not come into contact with hot surfaces, moving parts, or sharp edges.
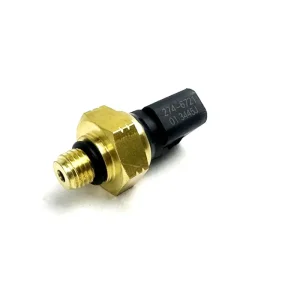
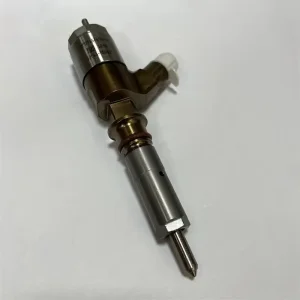
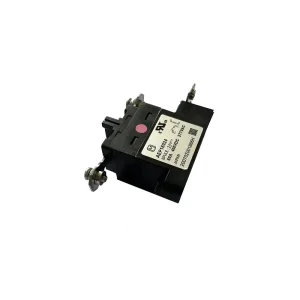
Connect the wiring harness to the appropriate components, such as sensors, lights, and control units. Ensure that each connector is securely fastened and that the connections are clean and free of corrosion.
Use zip ties or cable ties to secure the wiring harness along its route. This helps prevent movement and protects the harness from damage. Make sure not to overtighten the ties, as this can damage the wires.
Before finalizing the installation, use a multimeter to test the connections for continuity and proper voltage. This step ensures that all connections are functioning correctly.
If you had to remove any components to access the wiring harness, reinstall them according to the manufacturer's specifications. Use a torque wrench to tighten any bolts to the recommended settings.
Once everything is securely connected and reassembled, reconnect the battery.
Start the machinery and test all electrical components connected to the wiring harness. Check for proper operation of lights, sensors, and controls. Look for any error codes or warning lights on the operator monitor.
After testing, perform a final inspection to ensure everything is secure and functioning properly. Check for any loose connections or signs of wear.


Before starting, ensure the machinery is turned off, parked on a stable surface, and the parking brake is engaged. Most importantly, disconnect the battery to prevent any accidental electrical starts or short circuits.
You should route the new wiring harness according to the manufacturer's specifications, following the exact path of the old harness. Avoid letting the wires contact hot surfaces, sharp edges, or moving parts of the machinery.
A multimeter is essential to test all the connections for proper continuity and correct voltage before finalizing the installation. This verifies that the electrical flow is normal and detects any connection errors early.
Ensure that you do not overtighten the zip ties or cable ties. Tightening them too much can pinch, cut, or damage the protective sheath and the internal wires over time.
Start the machinery and test all related electrical components, checking the operations of lights, sensors, and controls. Verify that there are no error codes or warning lights displaying on the operator's monitor.