1 / 2
When assembling a complete engine, there are several important notices and guidelines to keep in mind to ensure proper assembly and functionality. Here are some key points to consider:
Ensure all components are clean and free from dirt, dust, and debris. Use lint-free cloths and appropriate cleaning solvents to clean parts.
Inspect all components for wear, damage, or defects before assembly. Check for proper tolerances and specifications as per the manufacturer's guidelines.
Apply engine oil or assembly lube to moving parts, such as bearings, camshafts, and piston rings, to prevent dry starts. Ensure that oil passages are clear and free from obstructions.
Follow the manufacturer's torque specifications for all bolts and fasteners. Use a calibrated torque wrench and follow the correct torque sequence to avoid warping or damaging components.
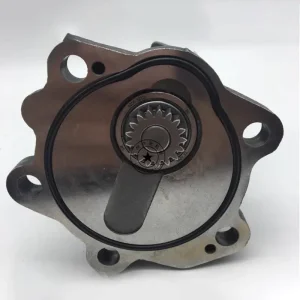
Follow the recommended order of assembly as specified in the service manual. Pay attention to the installation of timing components, gaskets, and seals.
Ensure that all gaskets and seals are installed correctly to prevent leaks. Use the appropriate sealant if required, and allow it to cure as per the manufacturer's instructions.
Ensure that all components are properly aligned during assembly. Check for proper fitment of parts, especially when installing the crankshaft, camshaft, and timing components.
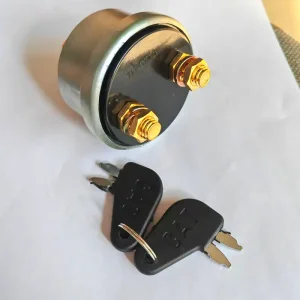
Ensure all electrical connections are secure and properly routed. Check wiring harnesses for damage or wear.
Before closing the engine, double-check all fasteners, connections, and fluid levels. Ensure that all tools and foreign objects are removed from the engine bay.
After assembly, perform a thorough test of the engine, including checking for leaks, unusual noises, and proper operation. Follow the break-in procedure as recommended by the manufacturer.
Keep detailed records of the assembly process, including any modifications or replacements made. Document torque settings and any issues encountered during assembly.
By adhering to these guidelines, you can help ensure a successful engine assembly that operates efficiently and reliably. Always refer to the specific service manual for the engine you are working on for detailed instructions and specifications.
Even minor dirt, dust, or metal shavings can cause friction, block narrow oil passages, or damage bearings and cylinder walls. Cleaning parts with proper solvents and lint-free cloths prevents premature engine wear and failure.
While regular engine oil is better than nothing, dedicated assembly lube is highly recommended for critical wear points like camshaft lobes and bearings. Assembly lube is thicker, clings to metal surfaces longer, and prevents dry starts before the oil pump builds up pressure.
Under-tightening can lead to component loosening, fluid leaks, or blown gaskets. Over-tightening can stretch or break fasteners, distort mating surfaces, or damage thread holes. Using a calibrated torque wrench in the specified sequence ensures even clamping force.
Curing time depends on the specific sealant used. Always follow the manufacturer's directions printed on the sealant package. Allowing full cure time before adding engine fluids or running the engine prevents high-pressure leaks.
Keeping detailed documentation of torque values, clearances, and any parts replaced provides a valuable reference for future maintenance, diagnostics, or warranty needs. It ensures you have a record of compliance with the exact technical specifications.