1 / 3
Ensure the excavator is on a stable surface and the engine is turned off. Engage the parking brake and remove the key to prevent accidental operation.
If you are replacing an old bucket link, start by removing the existing link. Use the appropriate tools to loosen and remove the bolts securing the old link to the bucket and the arm of the excavator.
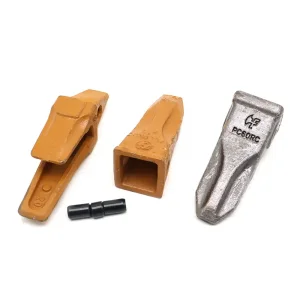
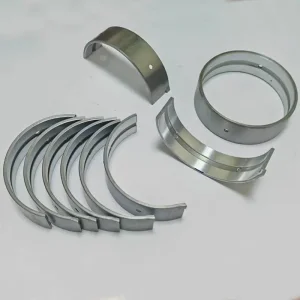
Before installation, inspect the new bucket link and associated components (like pins and bushings) for any damage or wear. Replace any worn parts as necessary.
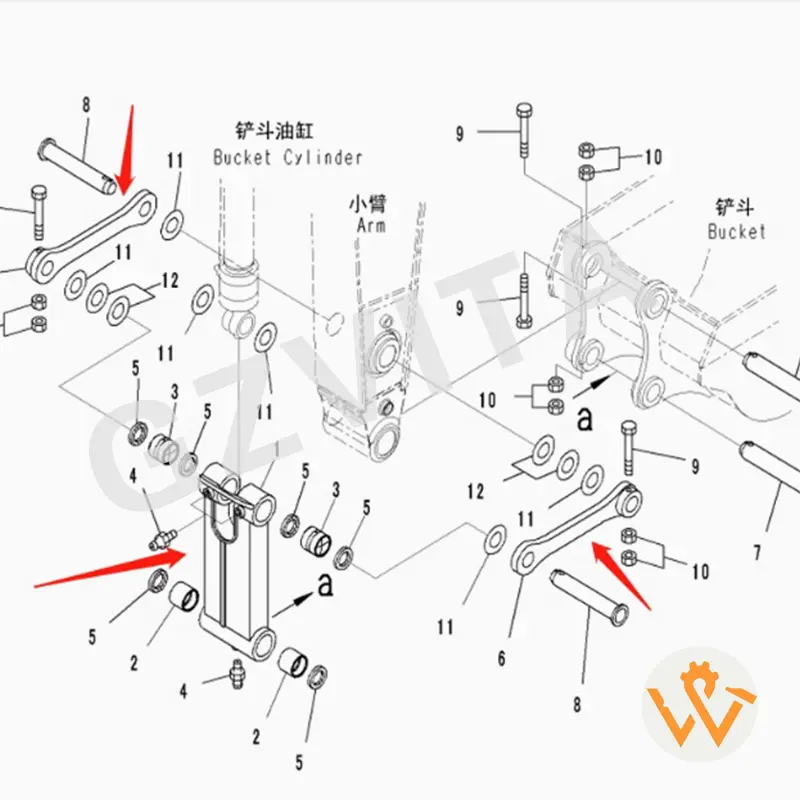
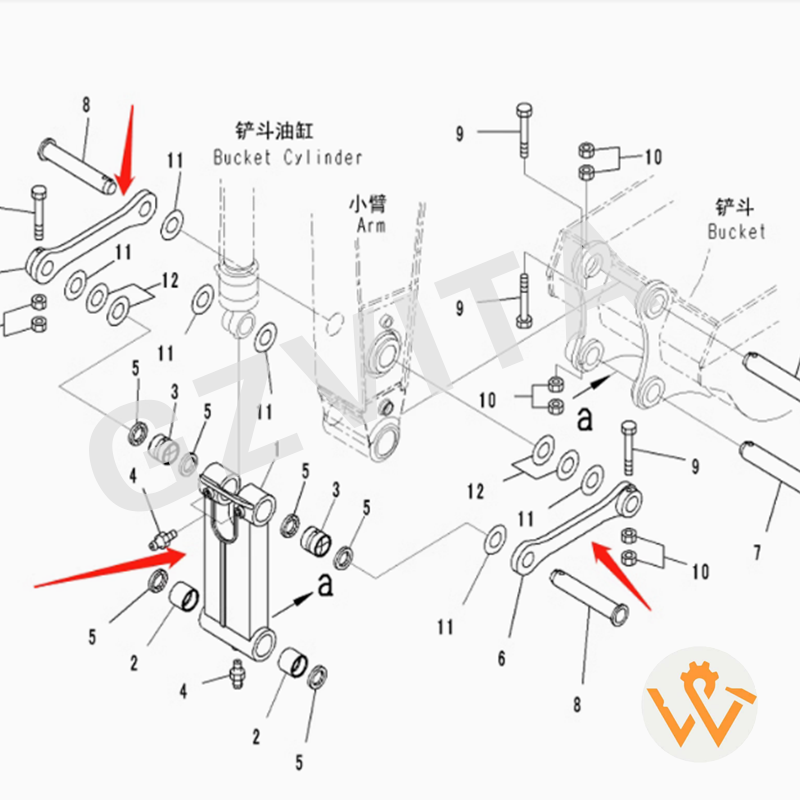
Align the new bucket link with the bucket and the arm of the excavator. Ensure that the link is oriented correctly according to the manufacturer's specifications.
Insert the pins through the bucket link and into the bucket and arm. Make sure the pins are fully seated and aligned properly.
Use the appropriate bolts and nuts to secure the bucket link in place. Hand-tighten the bolts first to ensure everything is aligned correctly.
Using a torque wrench, tighten the bolts to the manufacturer's specified torque settings. This step is crucial to ensure that the bucket link is securely fastened and can withstand operational stresses.
If the installation requires lubrication, apply the appropriate lubricant to the moving parts of the bucket link to ensure smooth operation.
Before putting the excavator back into full operation, perform a test by moving the bucket through its range of motion. Check for any unusual noises or resistance.
After testing, perform a final inspection to ensure everything is secure and functioning correctly. Double-check the torque on the bolts if necessary.
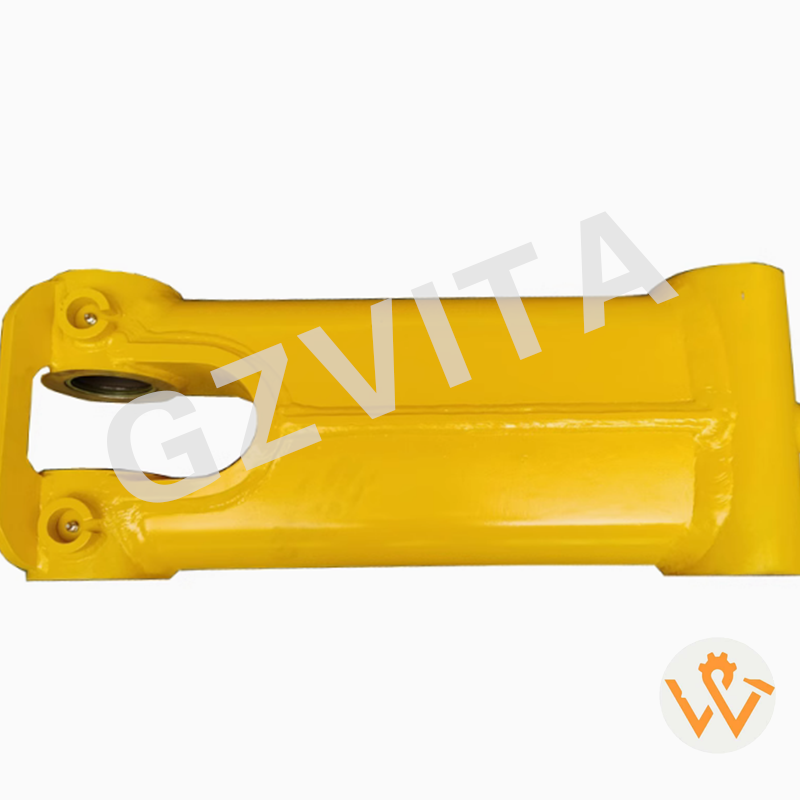

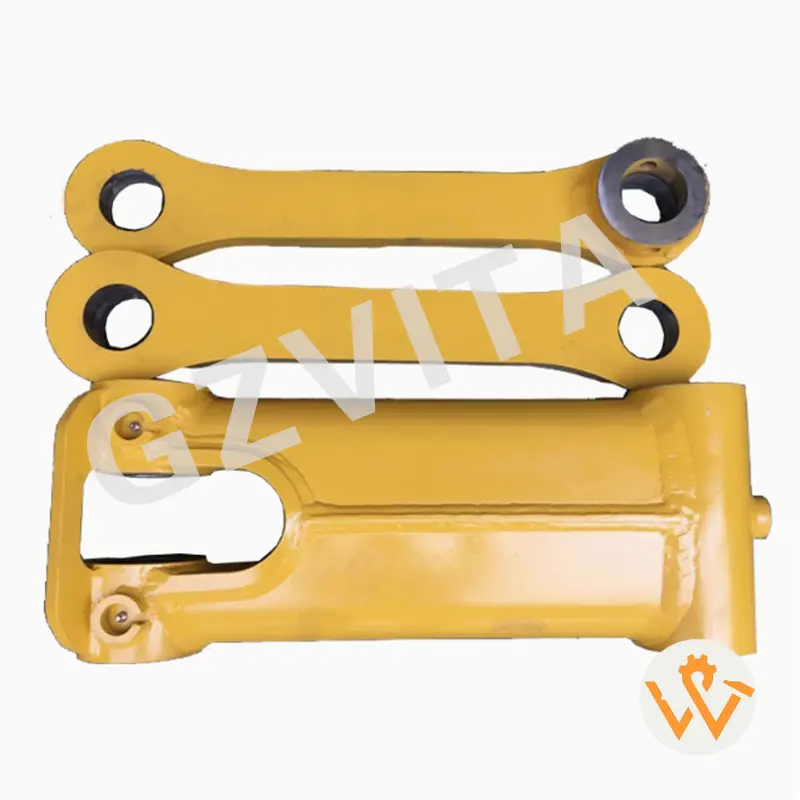
The bucket link connects the excavator arm to the bucket, allowing for pivoting, scooping, and dumping operations. Proper installation ensures optimal movement, torque distribution, and structural integrity during heavy construction work.
Using a torque wrench ensures that all securement bolts are tightened according to the exact manufacturer specifications. Over-tightening can damage the bolt threads or structural parts, while under-tightening can cause the bucket link to loosen under vibration and load stress.
You should check the surrounding pins, bushings, and the arm end. Look for any visible cracks, excessive wear, ovaling of pin holes, or lack of lubricant. Replace any worn connecting parts to prevent premature wear on the new bucket link.
It is recommended to apply a high-quality grease/lubricant immediately upon installation. For daily operation, check and lubricate these heavy-friction joints daily or according to the excavator's scheduled maintenance guidelines.
The excavator must be parked on flat, stable ground with the engine shut down. The key must be removed, lock levers engaged, and safety gears like protective gloves and goggles must be worn to prevent unexpected machine movements or injuries.
Start the excavator and slowly operate the bucket through its full range of movement without any load. Listen for grinding noises, look for binding or stiffness, and check the torque on all bolts one final time after testing.