1 / 3
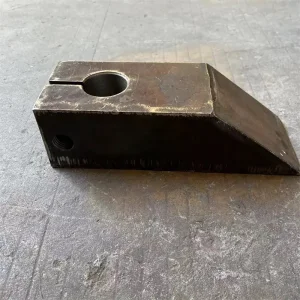
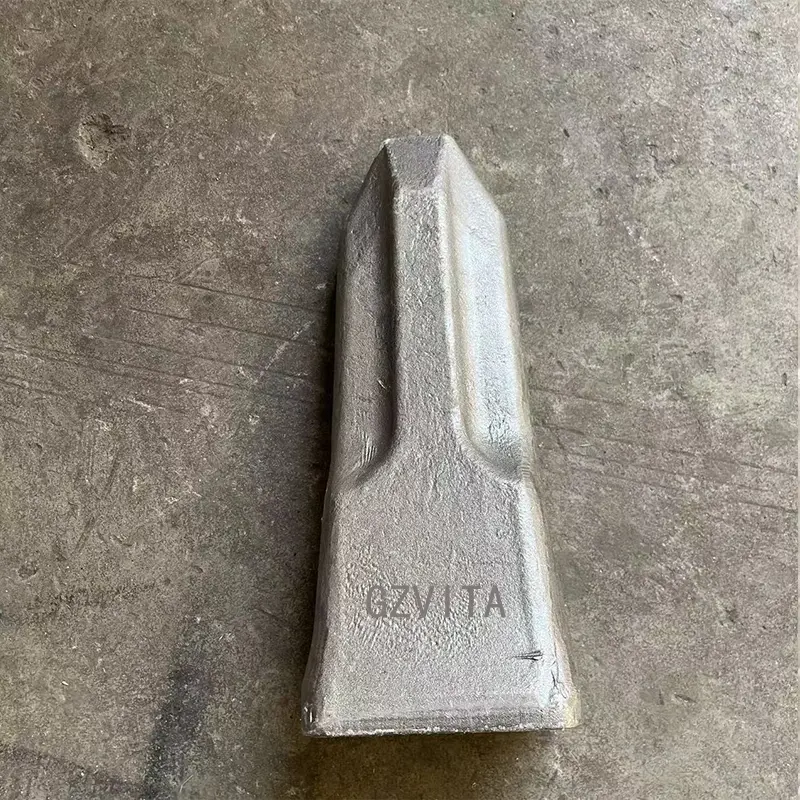
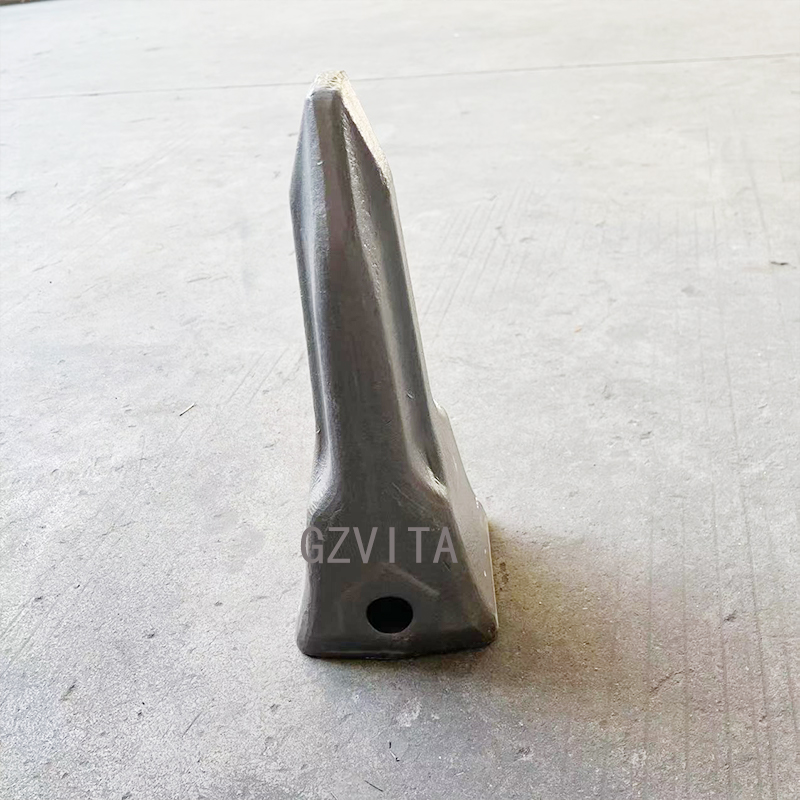
Installing excavator bucket teeth is a straightforward process, but it requires attention to detail to ensure proper fit and function. Here's a step-by-step guide to help you install them correctly:
Ensure the excavator is turned off and parked on a stable surface. Engage the parking brake and use wheel chocks if necessary.
If you are replacing old teeth, use a wrench or socket to remove the retaining pins or bolts that hold the teeth in place. If the teeth are stuck, you may need to tap them with a hammer to loosen them. Be careful not to damage the bucket.
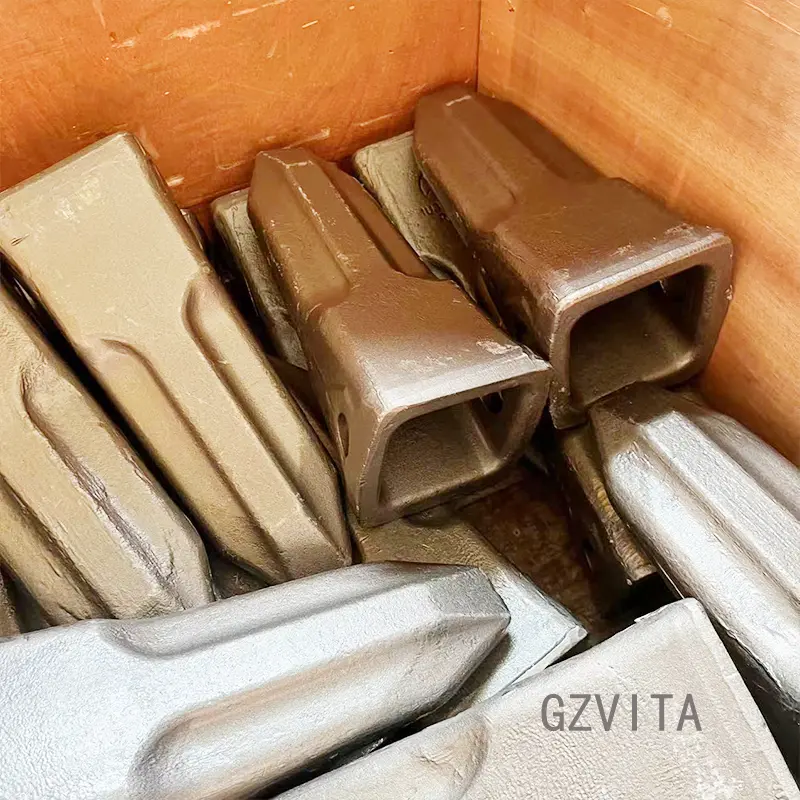
Check the bucket and the tooth adapters (if used) for any signs of wear or damage. Replace any worn or damaged components as necessary.
If your new teeth require adapters, install them first according to the manufacturer's instructions. Apply a small amount of lubricant to the mounting surfaces to facilitate easier installation.
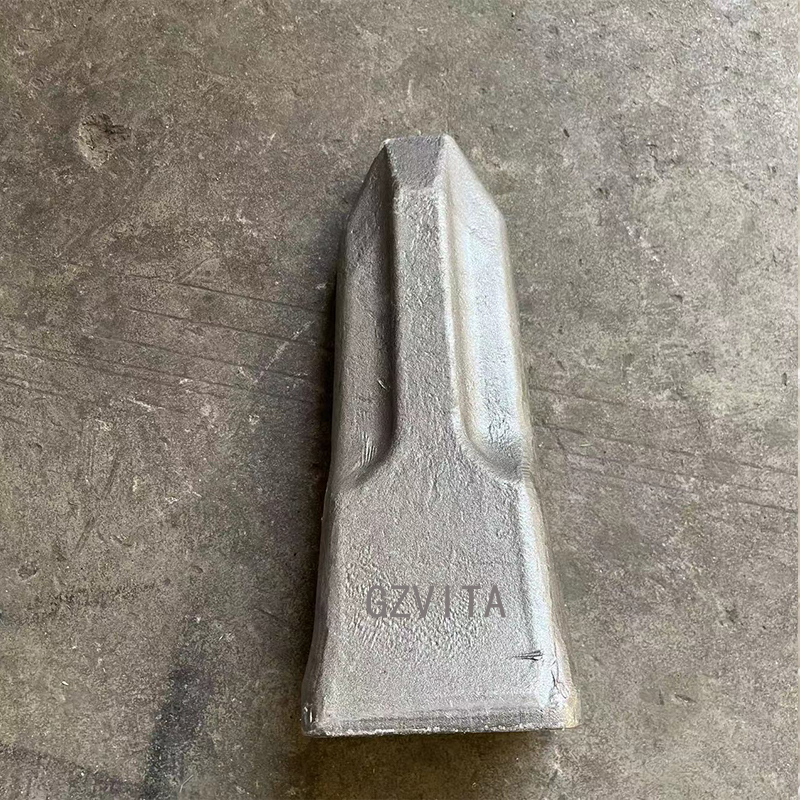
Align the new bucket teeth with the mounting holes on the bucket or the adapters. Push or tap the teeth into place. If they have a locking mechanism, ensure it is engaged properly.
Insert the retaining pins or bolts to secure the teeth. Tighten them to the manufacturer's specifications using the appropriate tools. Double-check that all teeth are securely fastened and that there are no loose components.
Inspect the installation to ensure everything is aligned correctly and securely fastened. Make sure there are no obstructions or debris in the bucket area.
Start the excavator and perform a few test movements to ensure the teeth are functioning properly and securely attached.
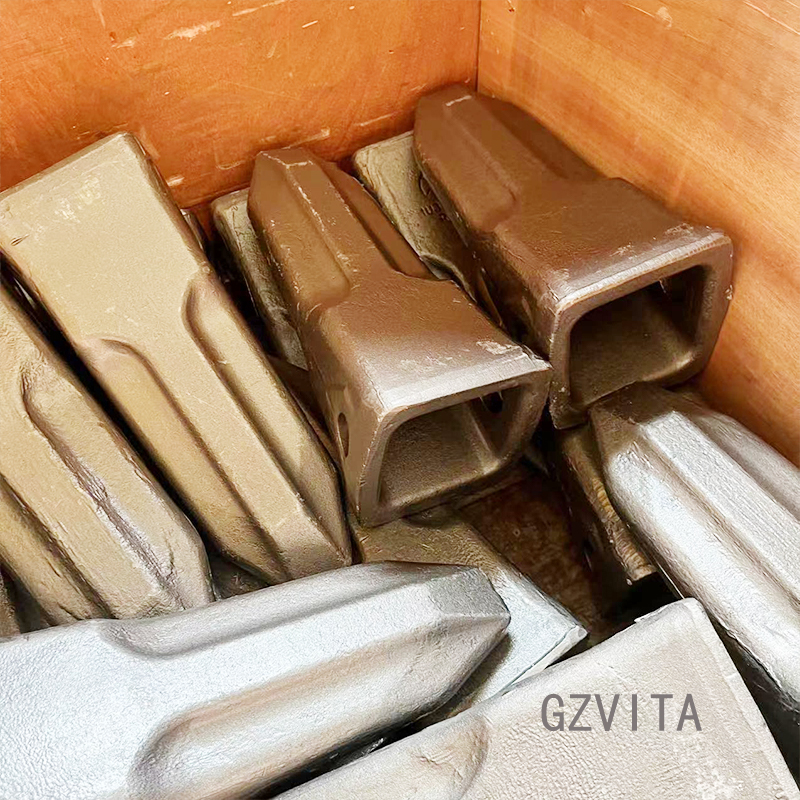
You will need new bucket teeth, proper adapters (if applicable), matching wrenches or sockets, a hammer or sledgehammer for removing stuck parts, safety gloves, safety goggles, and optionally a lubricant to ease installation.
After removing the retaining pins or bolts, use a hammer or sledgehammer to gently tap the teeth to loosen them. Be careful to strike only the tooth and avoid damaging the bucket structure itself.
Yes, applying a small amount of lubricant to the mounting surfaces of the bucket or adapters is highly recommended. It facilitates smoother alignment and makes the installation process much easier.
Retaining pins or bolts should be tightened according to the specific manufacturer's torque specifications using appropriate tools. Ensure they are fully locked in place to prevent them from coming loose during operation.
Running a few test movements with the excavator ensures that all installed teeth are securely attached, function properly under movement, and do not present any loose parts that could detach during actual heavy work.