High-Quality High Quality C2.6 V2607 Engine Turbo Charger 1J700-17010 1J700-17011 1J700-17012 MOKE Turbine Manufacturer, Company

  • Daily visual inspection​ - Check for leaks, cracks, or damage.

  • Listen for unusual noises​ - Abnormal sounds indicate issues.

  • Check oil level​ - Ensure it's within the recommended range.

  • Monitor oil quality​ - Look for contamination or discoloration.

  • Inspect oil lines​ - Verify for cracks, leaks, or blockages.

  • Check air filters​ - Clean or replace if dirty or clogged.

  • Inspect intake system​ - Ensure no obstructions or leaks.

  • Examine drive belts​ - Look for wear, cracks, or improper tension.

  • Tighten mounting bolts​ - Ensure all fasteners are secure.

  • Check cooling system​ - Verify coolant level and circulation.

  • Inspect intercooler​ - Clean fins and check for damage.

  • Monitor boost pressure​ - Ensure it's within specified limits.

  • Check vacuum lines​ - Look for cracks, leaks, or disconnections.

  • Inspect bearings​ - Listen for noise and check for play.

  • Verify lubrication system​ - Ensure proper oil flow to bearings.

Product Description

The Installation Data of the Final Drive in Excavators

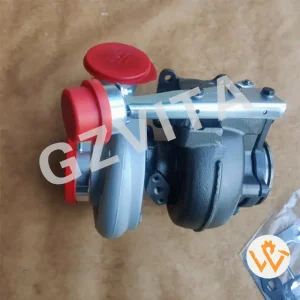
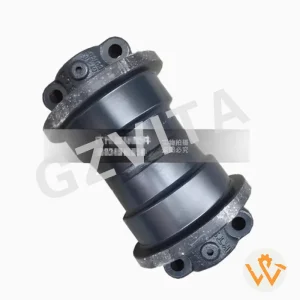
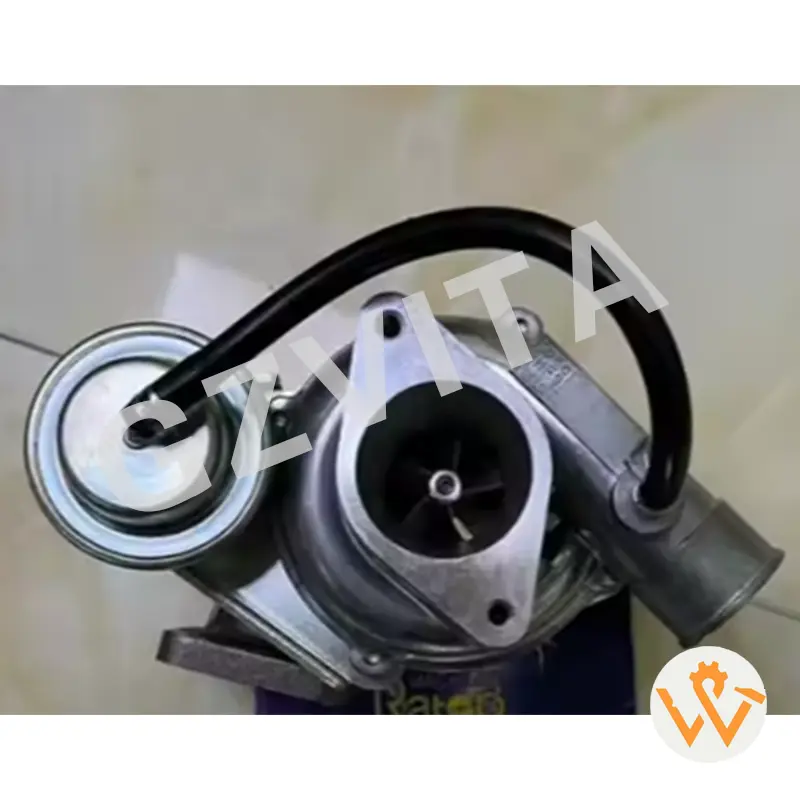
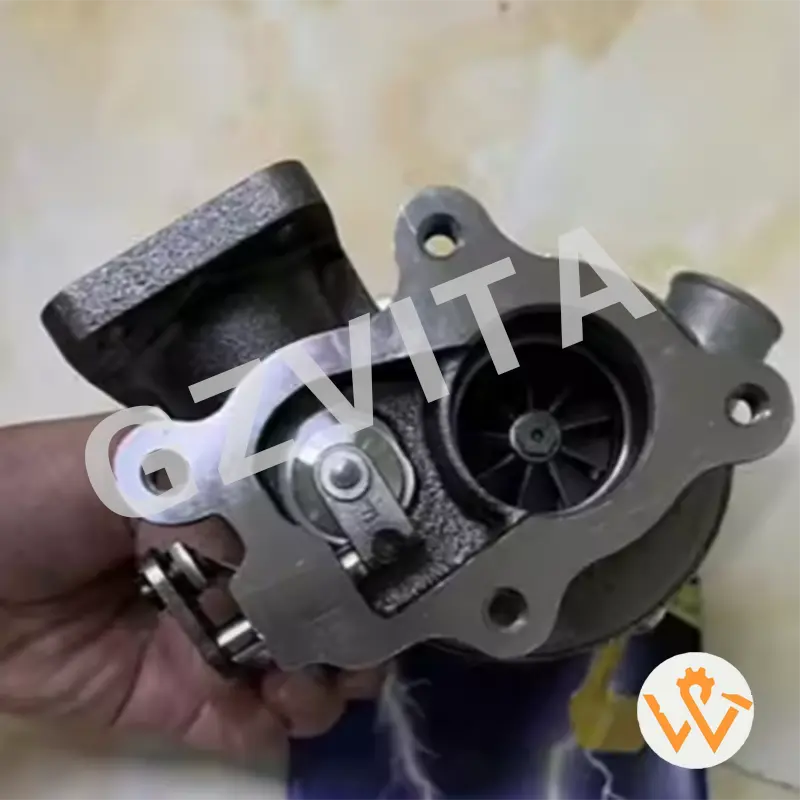
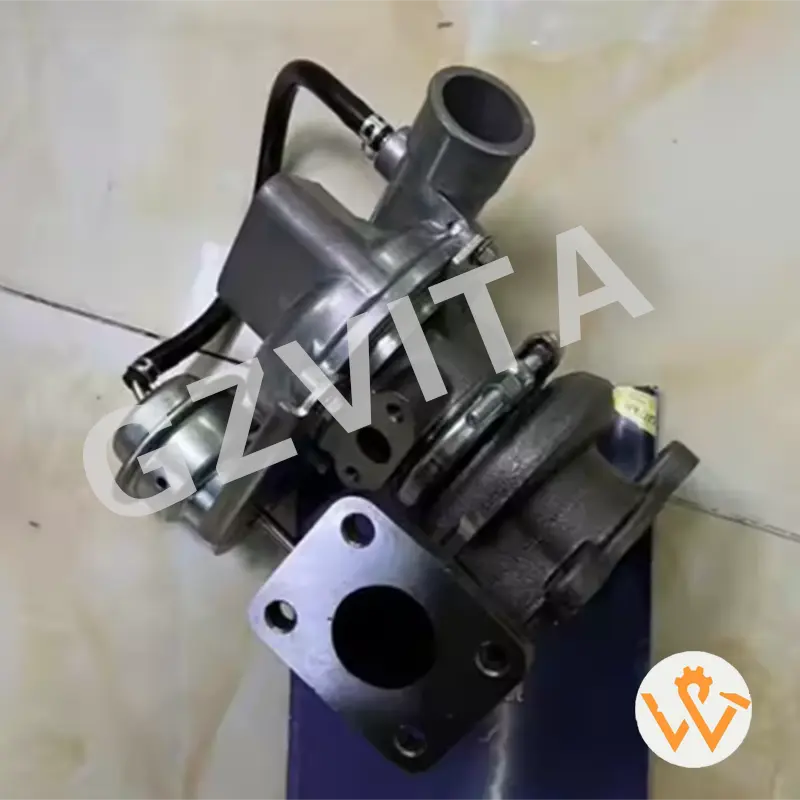
The final drive is a critical component in excavators, responsible for transmitting power from the hydraulic motor to the tracks or wheels, enabling movement and operation. Proper installation of the final drive is essential for optimal performance and longevity of the excavator. Here are key considerations and data related to the installation of the final drive in excavators:

1

Preparation and Inspection

Component Inspection: Before installation, inspect the final drive and associated components for any signs of damage or wear. Ensure that all parts are clean and free from debris.

Alignment Check: Verify that the mounting surfaces are clean and properly aligned to prevent misalignment during installation.

2

Installation Steps

Positioning: Carefully position the final drive onto the excavator’s frame, ensuring that it aligns with the mounting points.

Bolting: Use the specified torque settings for the bolts to secure the final drive. Refer to the manufacturer’s specifications for the correct torque values to avoid over-tightening or under-tightening.

Hydraulic Connections: Connect the hydraulic lines to the final drive, ensuring that they are properly secured and free from leaks. Use appropriate fittings and seals as recommended by the manufacturer.

3

Testing and Calibration

Functional Testing: After installation, conduct a functional test of the final drive. Check for smooth operation and listen for any unusual noises that may indicate issues.

Calibration: If applicable, calibrate the final drive according to the manufacturer’s guidelines to ensure optimal performance and efficiency.

4

Maintenance Considerations

Regular Inspections: Schedule regular inspections of the final drive to check for wear and tear, fluid levels, and any signs of leakage.

Lubrication: Ensure that the final drive is properly lubricated according to the manufacturer’s recommendations to prevent overheating and premature wear.

5

Documentation

Installation Records: Keep detailed records of the installation process, including torque settings, hydraulic connections, and any adjustments made. This documentation can be valuable for future maintenance and troubleshooting.

Conclusion

The installation of the final drive in excavators is a critical process that requires attention to detail and adherence to manufacturer specifications. Proper installation ensures the efficient operation of the excavator, contributing to its overall performance and longevity. By following the outlined steps and maintaining regular inspections, operators can maximize the effectiveness of their excavators and minimize downtime.

Frequently Asked Questions

Q: Why is the proper installation of the final drive so important?
A: Proper installation ensures correct power transmission, prevents misalignment, avoids component damage, and maximizes the operational longevity of the excavator.
Q: What torque settings should be used when bolting the final drive?
A: You must always refer to the specific excavator manufacturer's guide. Using incorrect torque can lead to loose bolts or thread damage, compromising the final drive assembly.
Q: What should be checked during the initial inspection?
A: You should inspect the final drive for any pre-existing wear or structural damage, and ensure that all mounting surfaces are completely clean and properly aligned.
Q: How do you prevent leaks during the installation of hydraulic connections?
A: To prevent leaks, always use the manufacturer-recommended seals and fittings, and ensure the hydraulic lines are securely fastened and tested before final operation.
Q: Why is keeping detailed documentation of the installation helpful?
A: Keeping records of torque settings, connections, and calibrations provides a valuable baseline for future routine maintenance, inspections, and troubleshooting steps.

Related Products