1 / 3
Ensure you have all the required tools, such as wrenches, screwdrivers, pliers, and any specialized tools recommended by the manufacturer.
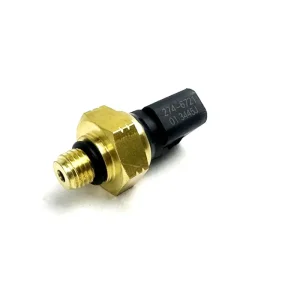
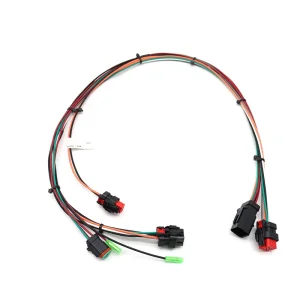
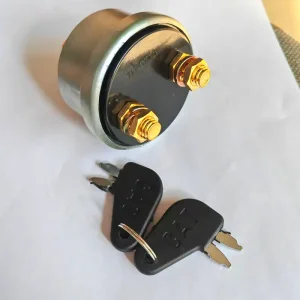
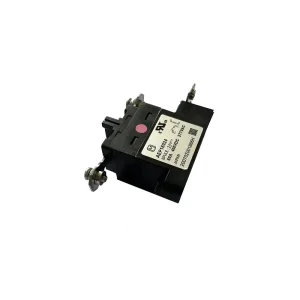
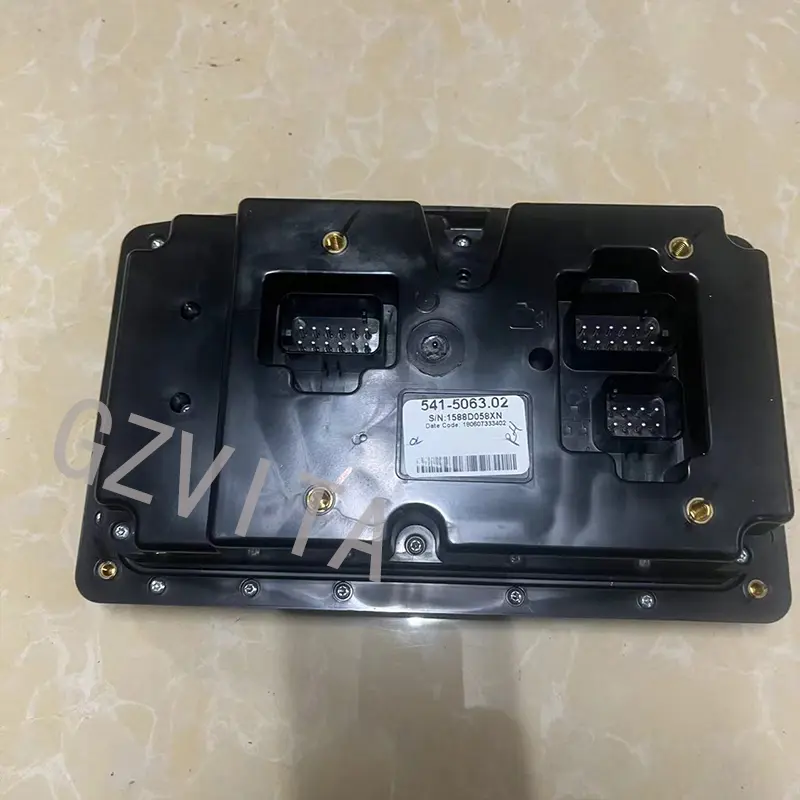
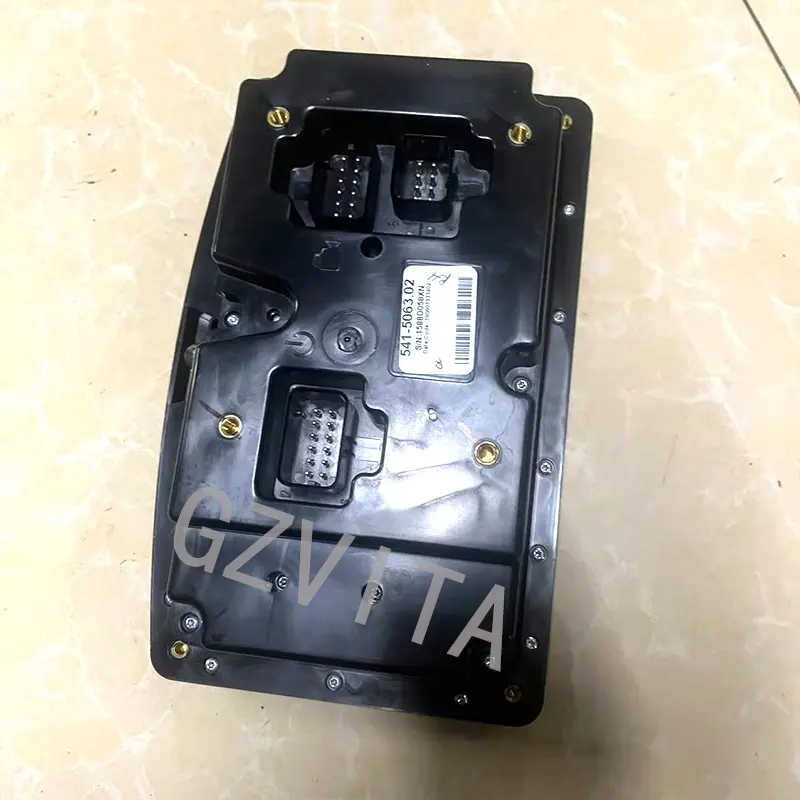
Have the Electronic Control Group components ready, including the ECU, wiring harnesses, sensors, and connectors.
Obtain the tractor's service manual or assembly guide. This document will provide specific instructions, diagrams, and torque specifications for your particular model.
Ensure the work area is clean and organized. Remove any debris or obstacles that could interfere with the assembly process.
Disconnect the tractor's battery to prevent any electrical issues during assembly.
Locate the designated mounting location for the ECU on the tractor. This is typically in the cabin or near the engine compartment.
Secure the ECU in place using the appropriate mounting hardware, ensuring it is firmly attached and properly aligned.
You will typically need standard tools such as wrenches, screwdrivers, and pliers, along with any specialized tools recommended in the manufacturer's service manual.
Always refer to the specific tractor model's service manual or assembly guide, which contains detailed wiring diagrams, step-by-step instructions, and torque specifications.
Disconnecting the battery is a critical safety precaution that prevents short circuits, electrical shocks, and damage to the sensitive components of the Electronic Control Group.
The ECU is usually installed in a secure, designated location, most commonly inside the operator's cabin or near the engine compartment.
The assembly typically consists of the Electronic Control Unit (ECU), dedicated wiring harnesses, various sensors, and connection terminals.