1 / 4
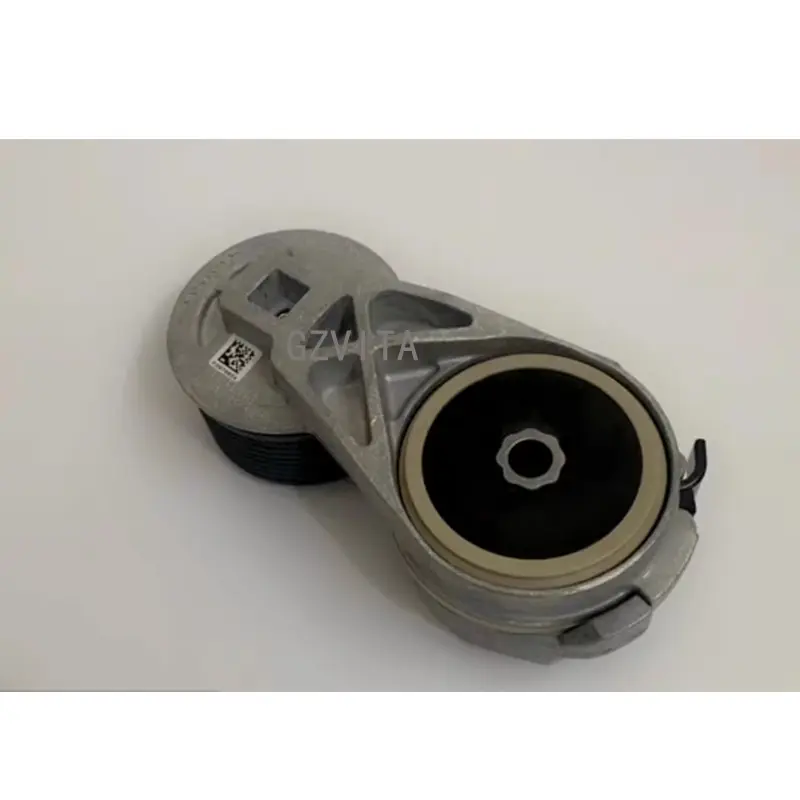
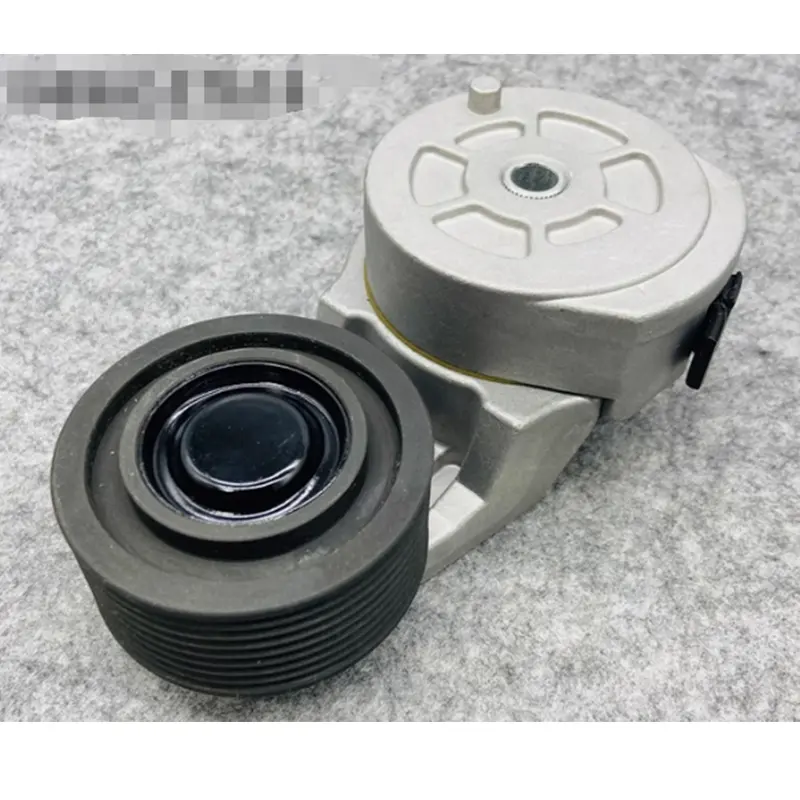
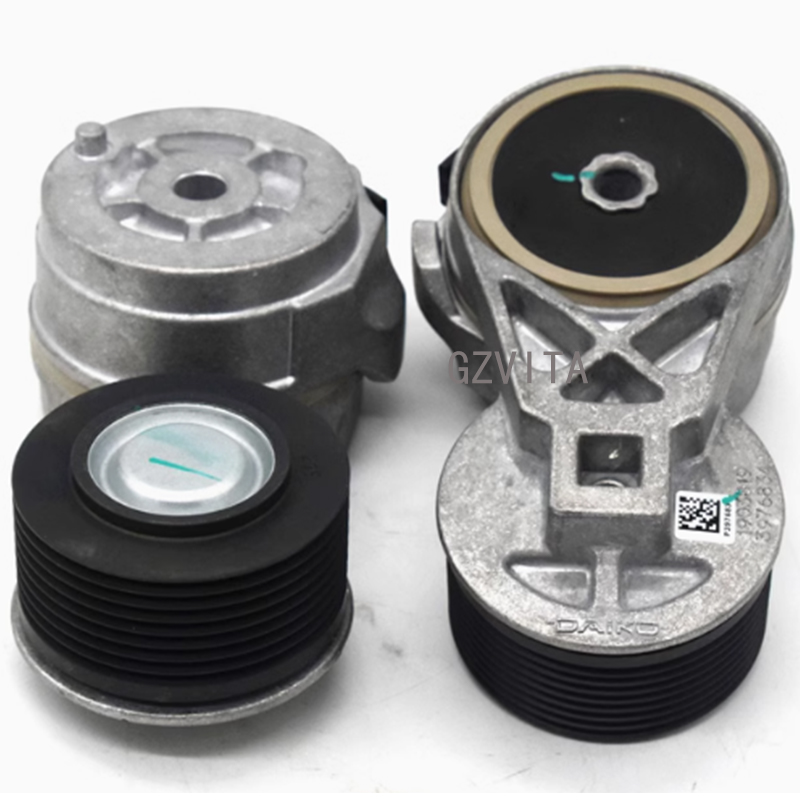
The engine belt tensioner pulley is a crucial component in the engine's accessory drive system. It helps maintain the proper tension on the serpentine belt, ensuring that it operates efficiently and effectively drives various engine accessories. Here's a guide on how to use and maintain an engine belt tensioner pulley:
The belt tensioner pulley is designed to keep the serpentine belt tight, preventing slippage and ensuring that the belt drives components like the alternator, power steering pump, and air conditioning compressor effectively.
It automatically adjusts the tension as the belt wears or stretches over time.
Visual Inspection: Regularly check the tensioner pulley for signs of wear, such as cracks, fraying, or damage. Look for any unusual noises when the engine is running, which may indicate a failing pulley.
Check for Movement: With the engine off, manually check the tensioner pulley for smooth rotation. It should spin freely without any binding or resistance.
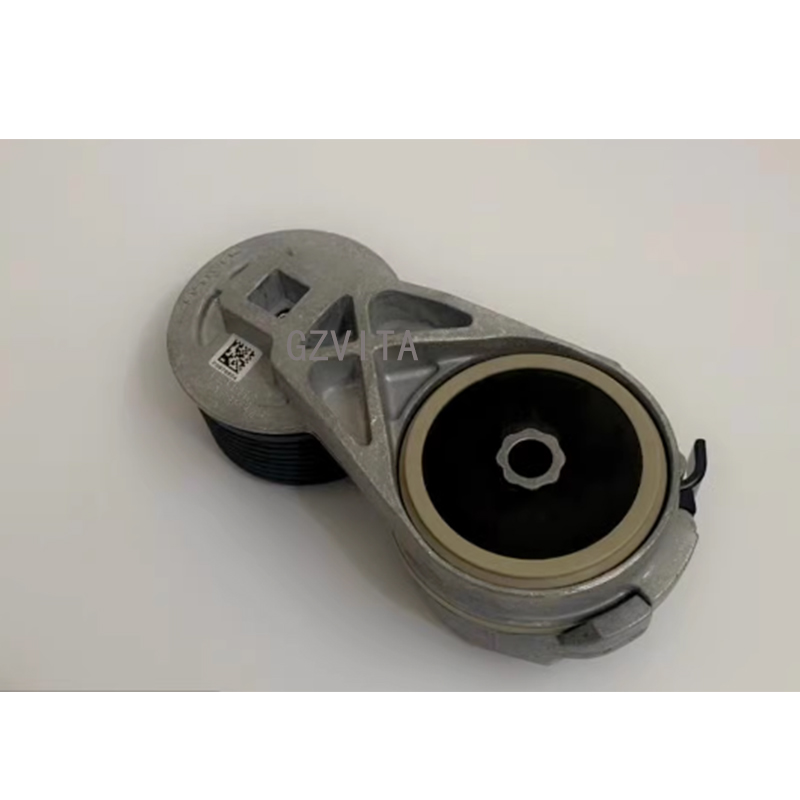
Locate the Tensioner: Identify the location of the belt tensioner pulley in your engine compartment. It is usually mounted on the engine block and connected to the serpentine belt.
Use a Wrench or Socket: To adjust the tension, use a wrench or socket to turn the tensioner arm. Most tensioners have a square hole or a specific point where you can apply a wrench.
Release Tension: Turn the tensioner counterclockwise to release tension on the belt. This will allow you to remove or install the serpentine belt easily.
Remove the Old Belt: If you are replacing the serpentine belt, release the tension as described above and slide the belt off the pulleys.
Install the New Belt: Route the new serpentine belt according to the belt routing diagram, which is usually found on a sticker in the engine compartment. Ensure that the belt is seated properly on all pulleys.
Reapply Tension: Once the belt is in place, turn the tensioner clockwise to reapply tension to the belt. Ensure that the belt is tight and properly aligned on all pulleys.
Start the Engine: After installation, start the engine and observe the belt and tensioner pulley in operation. Listen for any unusual noises and check for proper belt alignment.
Check for Vibration: Ensure that the tensioner pulley does not exhibit excessive vibration, which could indicate a problem.
Periodic Checks: Regularly inspect the tensioner pulley and serpentine belt for wear and tear. Replace them as needed to prevent engine performance issues.
Follow Manufacturer Guidelines: Always refer to the vehicle's service manual for specific maintenance intervals and procedures related to the belt tensioner and serpentine belt.

It maintains the correct amount of tension on the serpentine belt. This prevents the belt from slipping and ensures it can efficiently power critical engine accessories like the alternator, power steering pump, and A/C compressor.
Common warning signs include squeaking, squealing, or grinding noises coming from the engine bay, visual wear or cracks on the pulley, belt slippage, or excessive vibration of the tensioner arm while the engine is running.
Most modern tensioners are automatic (spring-loaded) and adjust themselves as the belt stretches. However, you can use a wrench or socket on the tensioner arm to manually rotate it and temporarily release tension to replace or adjust the serpentine belt.
While not strictly mandatory, it is highly recommended. Because the tensioner pulley and the serpentine belt have similar service lifespans and operate under the same conditions, replacing them together helps prevent sudden component failure and saves on labor costs.
With the engine turned off and the serpentine belt removed, spin the tensioner pulley manually. It should rotate freely and silently without any resistance, catching, or rattling. Any stiffness or noise indicates the bearing inside the pulley is worn out.