1 / 4
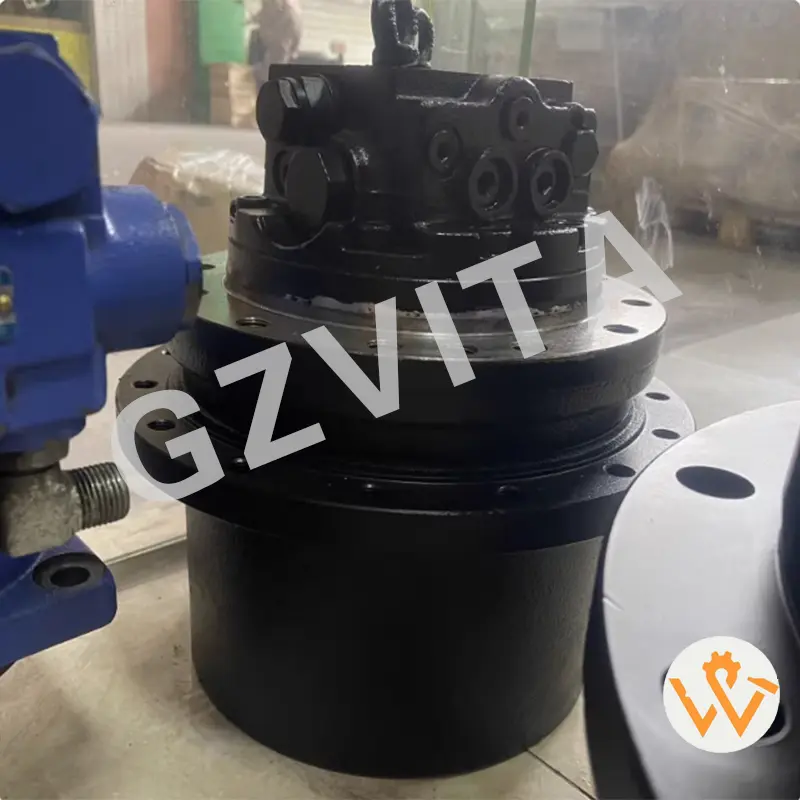
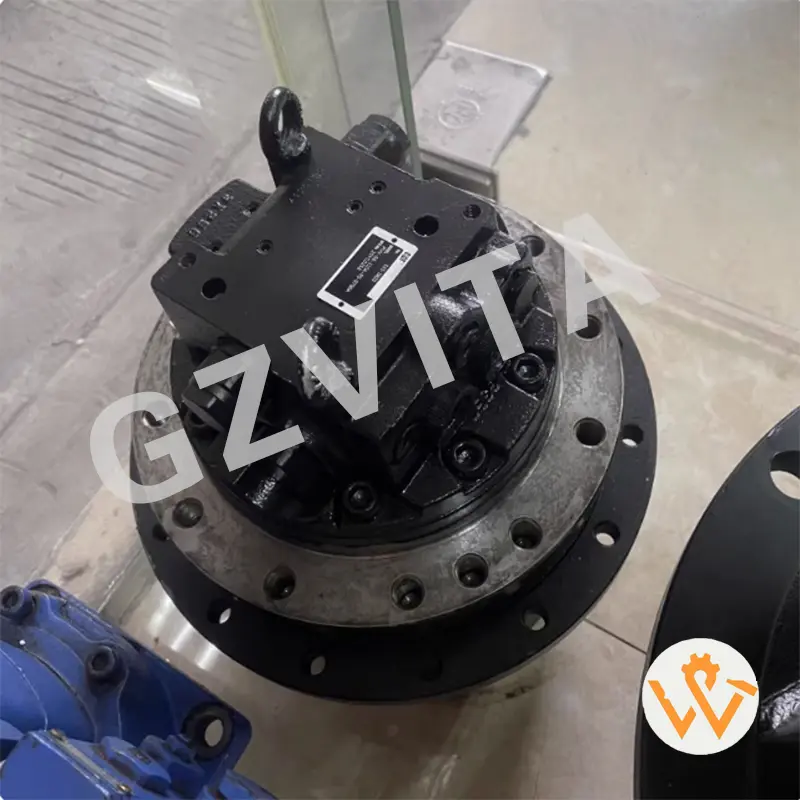
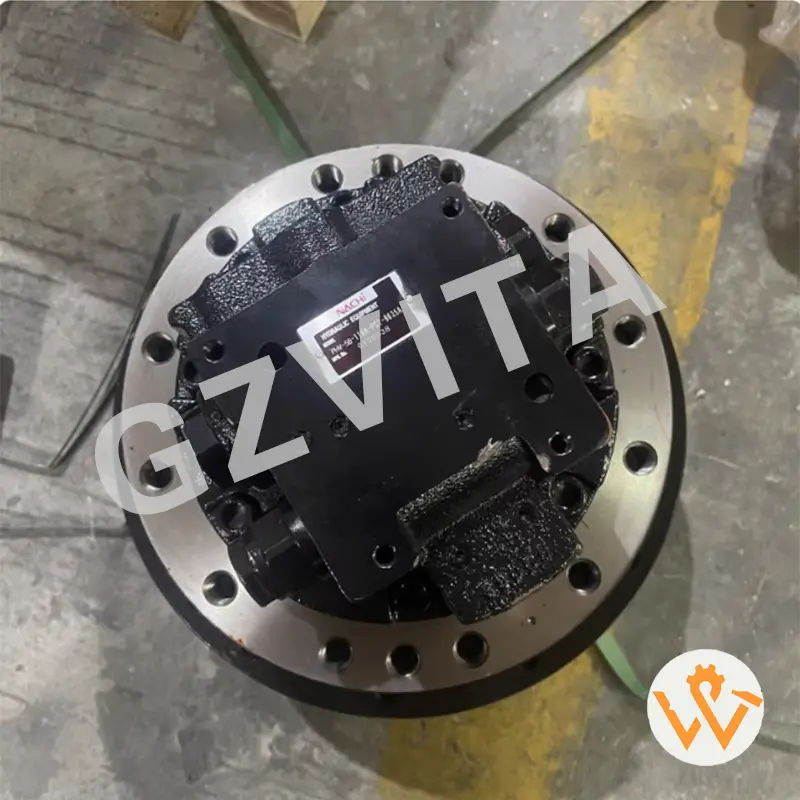
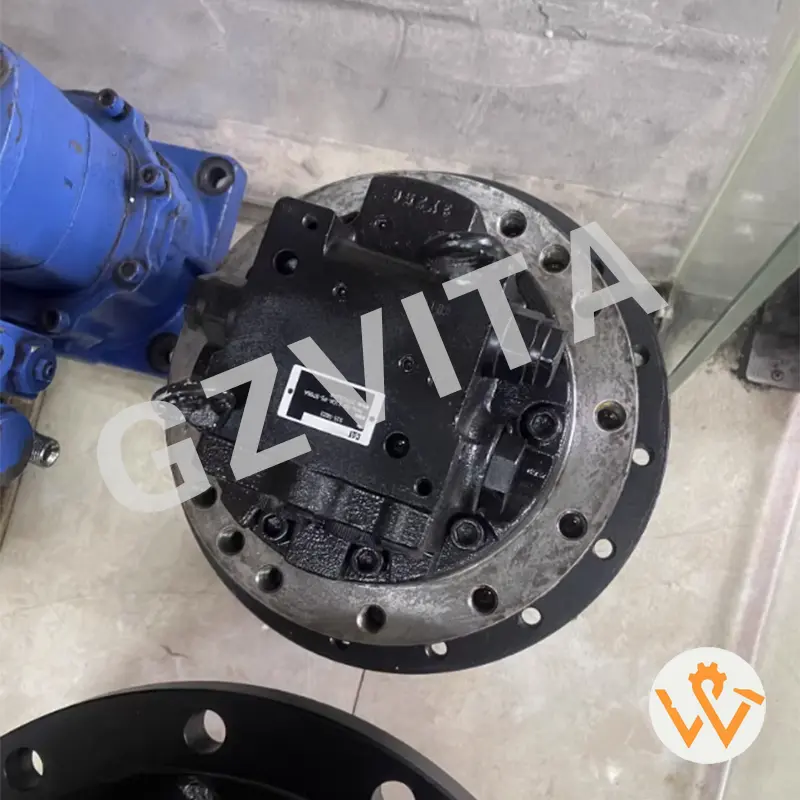
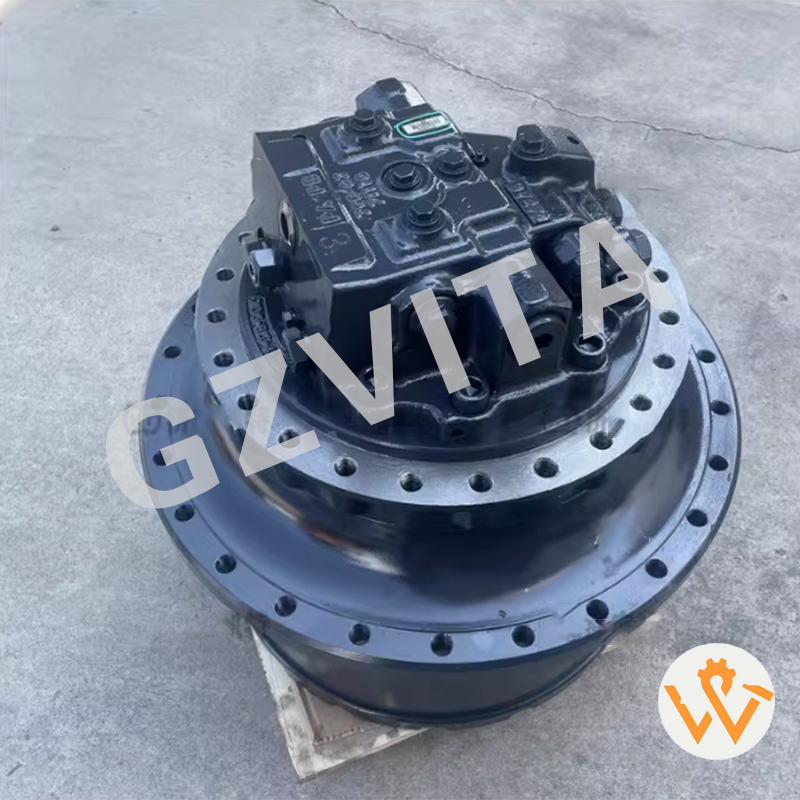
Inspecting the final drive assembly of an excavator is crucial for ensuring the machine's performance and longevity. The final drive is responsible for transferring power from the hydraulic motor to the tracks or wheels, allowing the excavator to move. Here's a step-by-step guide on how to inspect the final drive assembly:
Ensure the excavator is parked on a stable surface and the engine is turned off. Engage the parking brake and remove the key to prevent accidental operation.
Check for Leaks: Inspect the final drive assembly for any signs of hydraulic fluid leaks. Look for wet spots, puddles, or drips around seals and connections.
Inspect Hoses and Fittings: Examine hydraulic hoses and fittings for wear, cracks, or damage. Replace any damaged components immediately.
Look for Physical Damage: Check the final drive housing for any signs of cracks, dents, or other physical damage.
Start the excavator and operate it at low speed. Listen for any unusual noises coming from the final drive, such as grinding, clunking, or whining. These sounds may indicate internal issues.
If accessible, check the gearbox for proper lubrication. Look for any signs of metal shavings or debris in the oil, which could indicate wear or damage. If the final drive has a dipstick or sight glass, check the fluid level and condition. Top off or change the fluid as necessary.
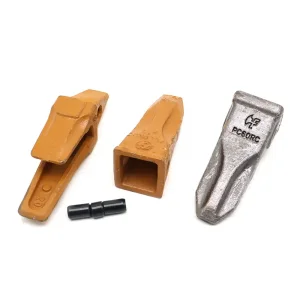
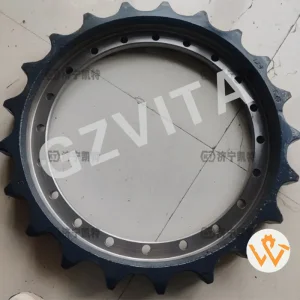
Inspect the drive sprocket for wear. Look for signs of excessive wear on the teeth, which can affect the performance of the tracks. Check the idler for proper alignment and wear. Ensure it rotates freely without any binding.
Check the track tension to ensure it is within the manufacturer's specifications. Proper tension is crucial for the final drive's performance and longevity.
If applicable, check the hydraulic motor connected to the final drive. Look for leaks and ensure that all connections are secure. Test the motor's operation by moving the excavator in both forward and reverse directions. Ensure smooth operation without hesitation.
If the final drive assembly has any electrical components (such as sensors), inspect the wiring and connectors for damage or corrosion. Use a multimeter to check for proper voltage and continuity if necessary.
Record any issues or observations during the inspection. This documentation can help with future maintenance and repairs.
Follow the manufacturer's recommendations for regular maintenance and inspections of the final drive assembly. This may include fluid changes, seal replacements, and other preventive measures.

Checking the gearbox oil allows you to look for metallic particles or shavings. These signs of debris indicate internal gear or bearing wear, helping prevent catastrophic failure before it happens.
Unusual grinding, clunking, or high-pitched whining noises while driving at slow speeds are primary indicators of mechanical issues or component deterioration inside the assembly.
Improper track tension can cause excessive strain or uneven load distribution on the final drive sprocket and bearings, reducing the service life of the entire drive system.
You should immediately identify the source of the leak, inspect the nearby hoses and fittings for physical wear or cracks, and replace the faulty seals or damaged components before running the machine.
Many modern final drive assemblies incorporate sensors to monitor parameters like speed or temperature. Checking wires and using a multimeter ensures these communication lines are sending accurate signals to the main system.