1 / 2
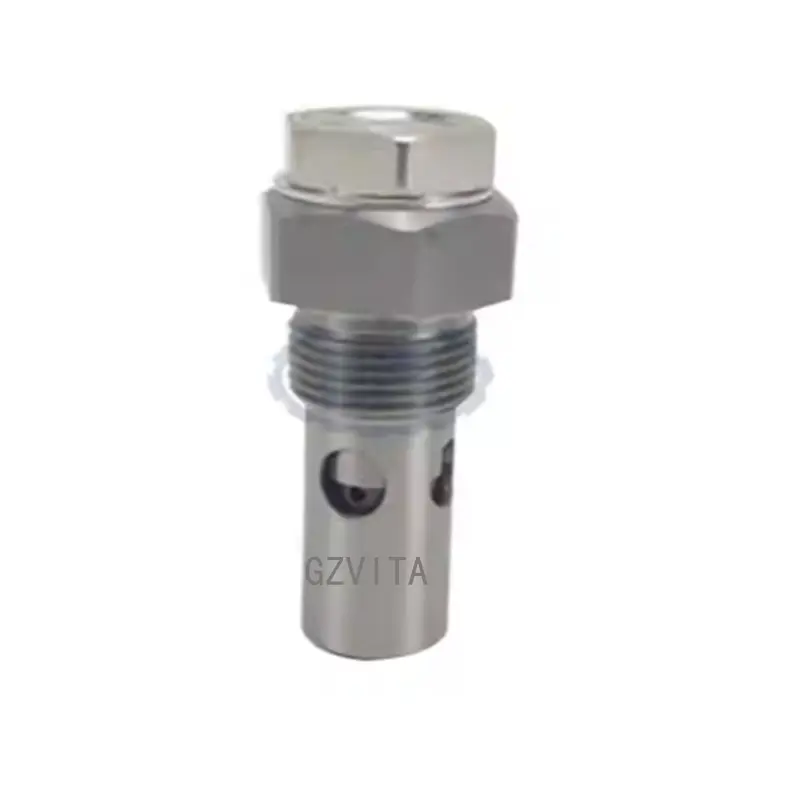
Installing a relief valve is an important task that helps ensure the safe operation of hydraulic systems by preventing excessive pressure buildup. Here is a comprehensive step-by-step guide on how to safely and effectively install a relief valve.
Ensure the hydraulic system is turned off and fully depressurized to avoid accidents. Wear safety gloves and goggles.
Identify the appropriate location, typically on the pump outlet or in the line leading directly to the actuator.
Use a clean cloth to wipe the threads of the fitting where the valve will be installed, preventing system contamination.
Apply thread sealant or Teflon tape to the valve threads to ensure a secure, leak-free connection.
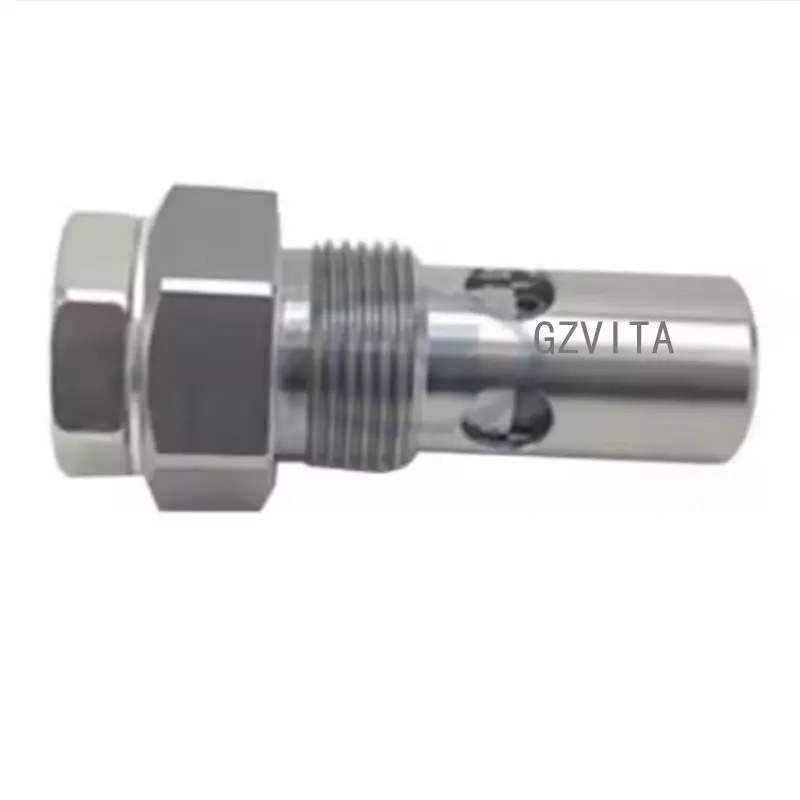
Screw the valve into the designated port. Hand-tighten first, then use a wrench to secure. Do not overtighten.
Ensure any lines or hoses meant for additional ports are correctly connected and tightly secured.
Verify that the valve is oriented correctly according to the manufacturer's specified flow direction.
Double-check all fittings for tightness and inspect the entire area for physical damage or wear.
Gradually repressurize the hydraulic system following manufacturer guidelines while monitoring for leaks.
Test the operation of the system to ensure the valve functions properly. Adjust the pressure settings as required.
A relief valve is critical because it acts as a safety limit by diverting excess pressurized fluid back to the reservoir, preventing catastrophic component failures and system damage.
You must consult your system specifications and the manufacturer's manual. The valve must be rated for the maximum safe operating pressure and volumetric flow rate of your specific hydraulic setup.
Use a high-quality thread sealant or Teflon tape compatible with hydraulic fluids. Ensure that none of the sealant gets inside the pipe or valve, as it can cause system clogs and contamination.
Overtightening can strip the threads of the valve or the system fitting, leading to leaks, internal physical damage, or failure under high pressure.
You should inspect and test the relief valve regularly according to the manufacturer's suggested maintenance schedule. Standard practice recommends checking it at least once a year or during routine hydraulic maintenance.