Installing a water pump on a CAT D3B tractor requires careful attention to detail to ensure proper function and avoid damage. Here are some general tips to guide you through the installation process:
Tools and Materials Needed
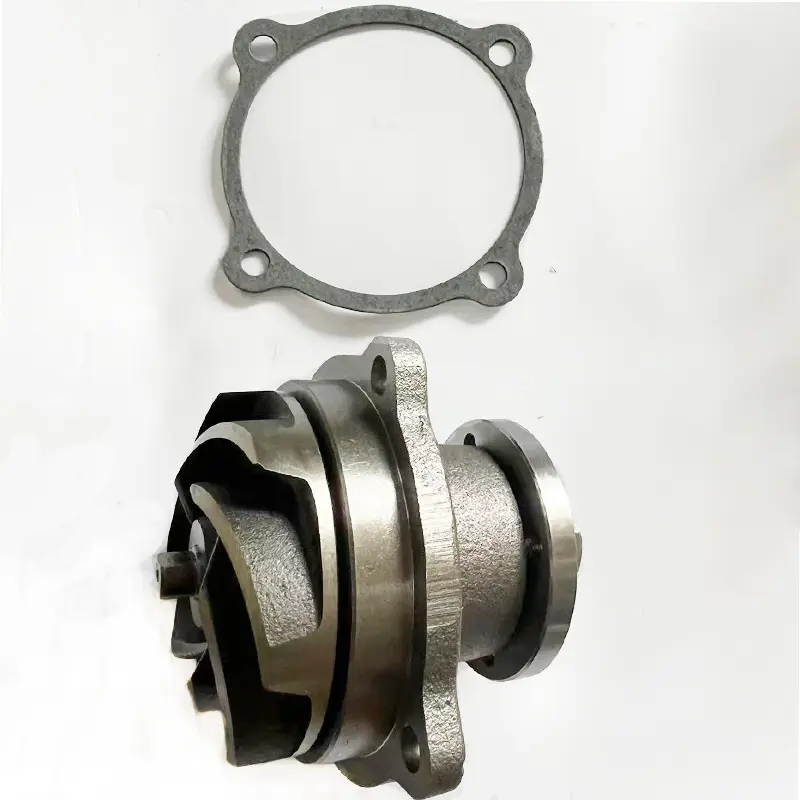
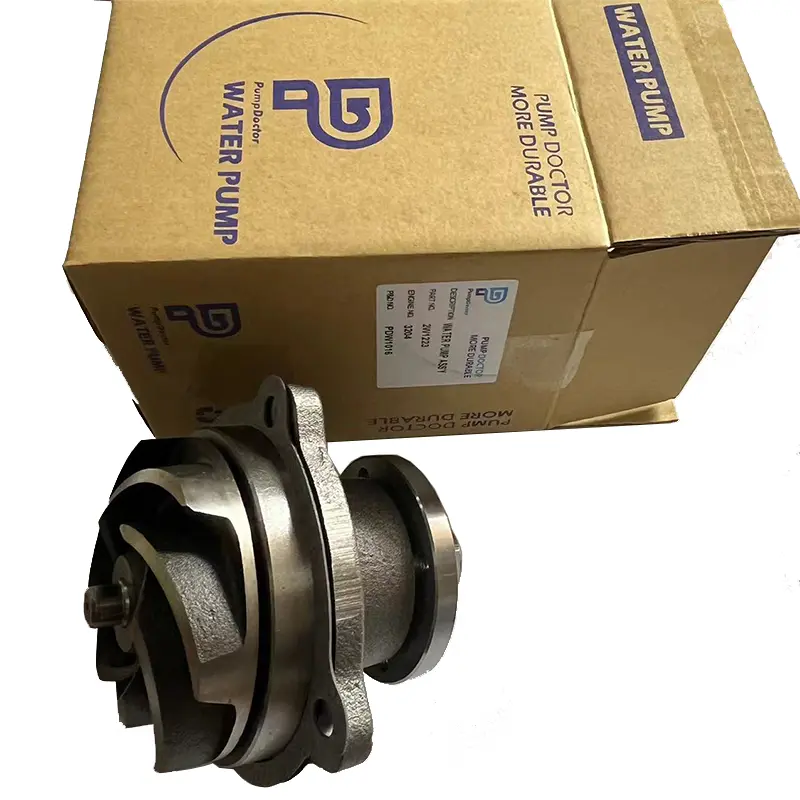
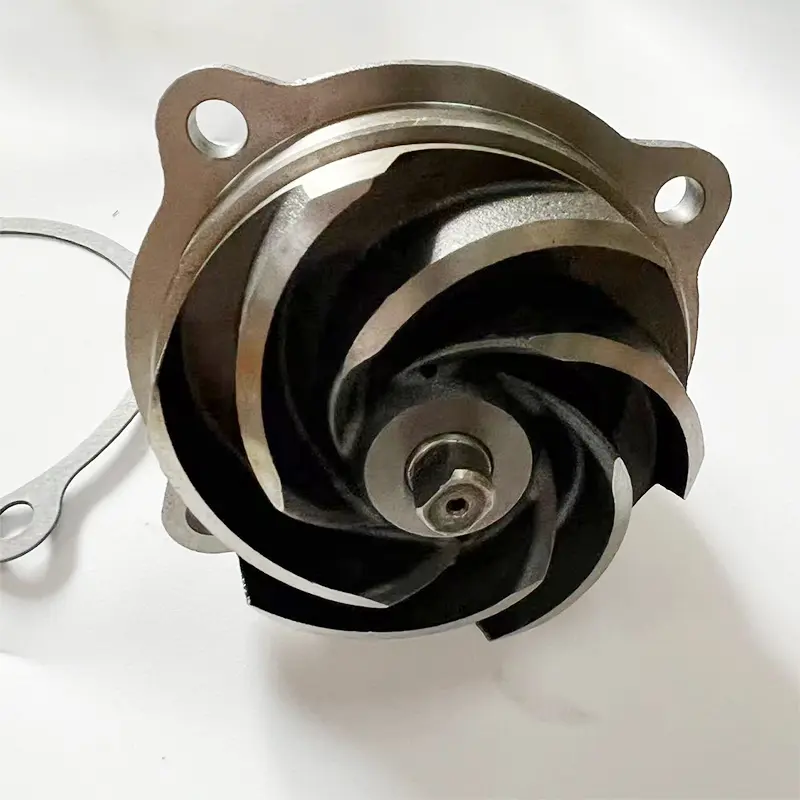
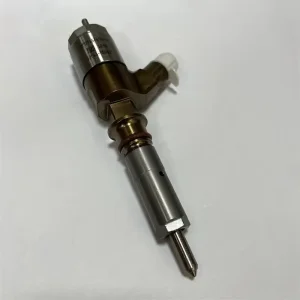
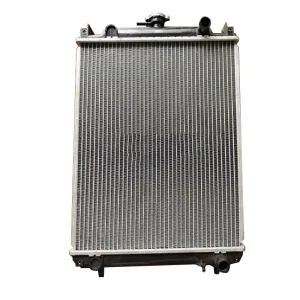
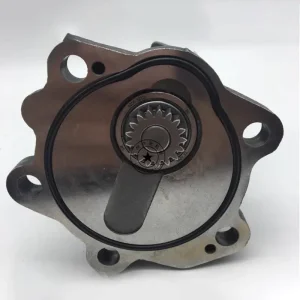
New water pump
Gasket or sealant (if required)
Wrenches and sockets
Screwdrivers
Torque wrench
Clean rags
Coolant (if necessary)
Safety gear (gloves, goggles)
Installation Steps
Step 1
Preparation
Safety First: Ensure the tractor is turned off, parked on a level surface, and the engine is cool. Disconnect the battery to prevent any electrical issues.
Drain Coolant: If the system is still filled with coolant, drain it into a suitable container to avoid spills.
Step 2
Remove the Old Water Pump
Access the Pump: Depending on the tractor's configuration, you may need to remove other components (like the fan or belts) to access the water pump.
Disconnect Hoses: Carefully disconnect the hoses attached to the water pump. Use pliers or a hose clamp tool if necessary.
Unbolt the Pump: Remove the bolts securing the water pump to the engine block. Keep track of the bolts for reinstallation.
Remove the Old Pump: Gently pull the old water pump away from the engine. If it's stuck, you may need to tap it lightly with a rubber mallet.
Step 3
Prepare for Installation
Clean the Surface: Thoroughly clean the mounting surface on the engine block to remove any old gasket material or debris. This ensures a good seal for the new pump.
Inspect Components: Check the condition of hoses, clamps, and other related components. Replace any that are worn or damaged.
Step 4
Install the New Water Pump
Apply Gasket or Sealant: If your new pump requires a gasket, place it on the pump. If using sealant, apply it evenly to the mounting surface.
Position the Pump: Align the new water pump with the mounting holes on the engine block and gently push it into place.
Bolt the Pump: Hand-tighten the bolts to secure the pump, then use a torque wrench to tighten them to the manufacturer's specifications. Be careful not to overtighten, as this can damage the pump or engine.
Step 5
Reconnect Hoses
Reattach the hoses to the water pump, ensuring they are secure and properly positioned. Use new hose clamps if necessary.
Step 6
Reassemble Other Components
If you removed any other components (like the fan or belts), reinstall them according to the manufacturer's instructions.
Step 7
Refill Coolant
Refill the cooling system with the appropriate coolant. Make sure to follow the recommended mixture and type for your CAT D3B.
Step 8
Check for Leaks
Reconnect the battery and start the engine. Allow it to reach operating temperature while checking for leaks around the water pump and hoses.
Step 9
Final Checks
Monitor the temperature gauge to ensure the engine is cooling properly. After a short run, check the coolant level and top off if necessary.
Frequently Asked Questions
What safety measures should I take before installing the water pump?
Before starting, ensure that the CAT D3B tractor is turned off, parked on a level surface, and the engine is completely cool. Additionally, disconnect the battery to prevent any electrical issues and drain the coolant safely into a container.
Do I need to clean the engine block mounting surface?
Yes, thoroughly cleaning the mounting surface to remove old gasket material and debris is critical. A clean surface ensures a proper and tight seal for the new water pump, preventing future leaks.
Should I use a gasket or sealant for the installation?
If the new water pump requires a gasket, place it directly onto the pump. If you are using sealant instead, apply it evenly to the mounting surface of the engine block before positioning the pump.
How tight should I secure the water pump bolts?
Hand-tighten the bolts first to secure the water pump in place, and then use a torque wrench to tighten them to the manufacturer's specifications. Do not overtighten, as this may cause damage to the pump or engine block.
How do I check if the water pump installation was successful?
After refilling the coolant, reconnect the battery and start the engine. Let the engine reach its normal operating temperature while checking the area around the pump and hoses for leaks. Finally, monitor the temperature gauge to verify proper cooling.