1 / 2
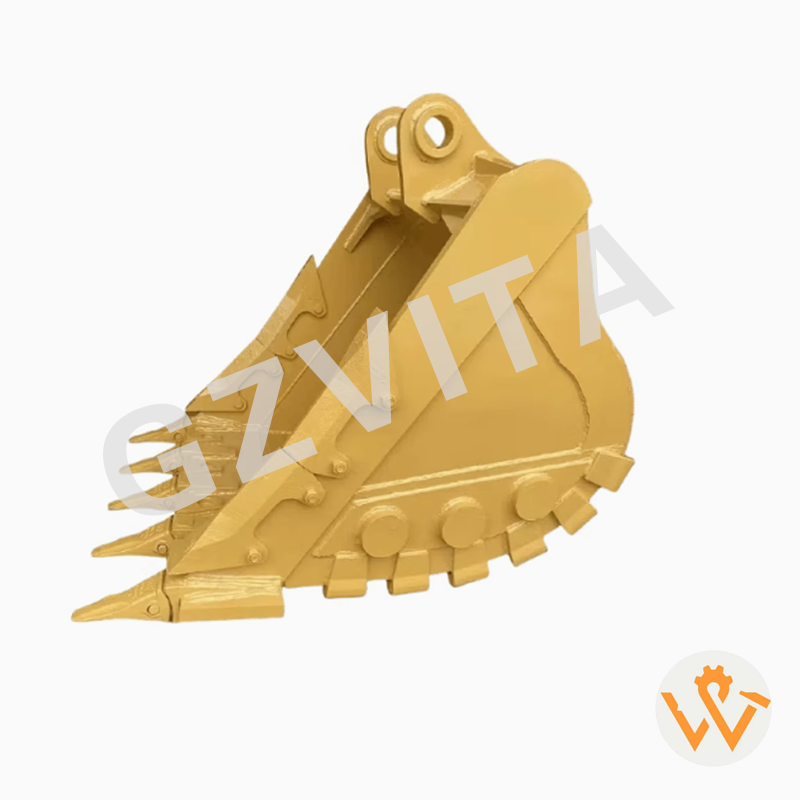
A heavy-duty bucket is designed for tough applications, such as digging, lifting, and moving heavy materials like soil, gravel, and debris. Proper use of a heavy-duty bucket can enhance productivity and ensure the safety of the operator and the machine. Here's a step-by-step guide on how to effectively use a heavy-duty bucket on an excavator.
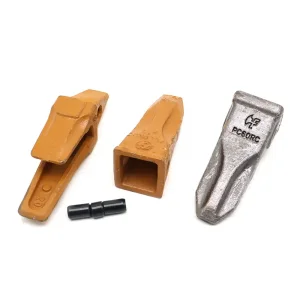
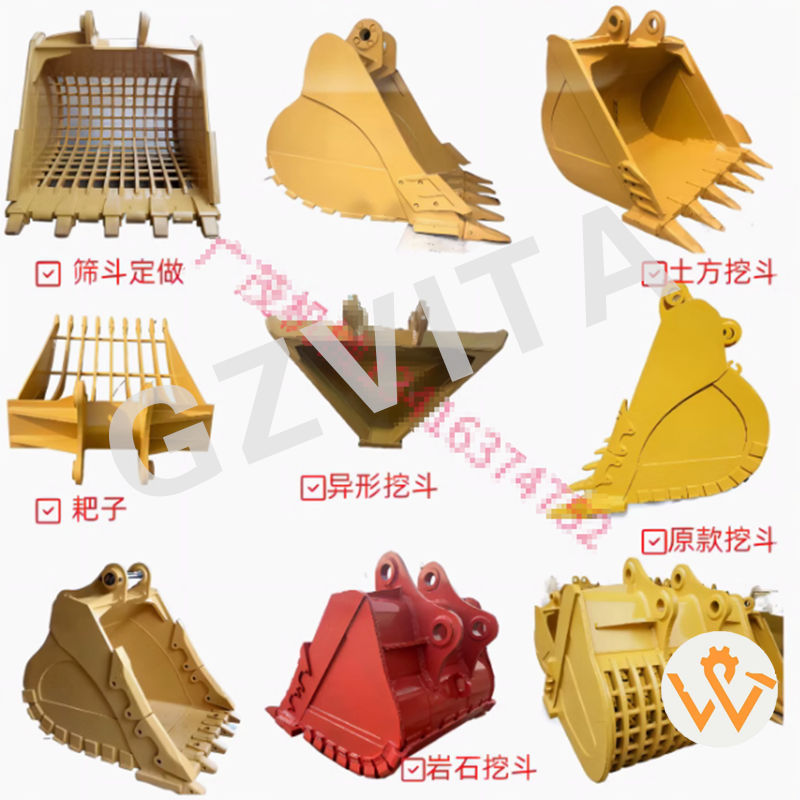
Understand the specifications and capabilities of the heavy-duty bucket. Check the bucket's capacity, weight, and any specific features (e.g., teeth, cutting edge) that may affect its performance.
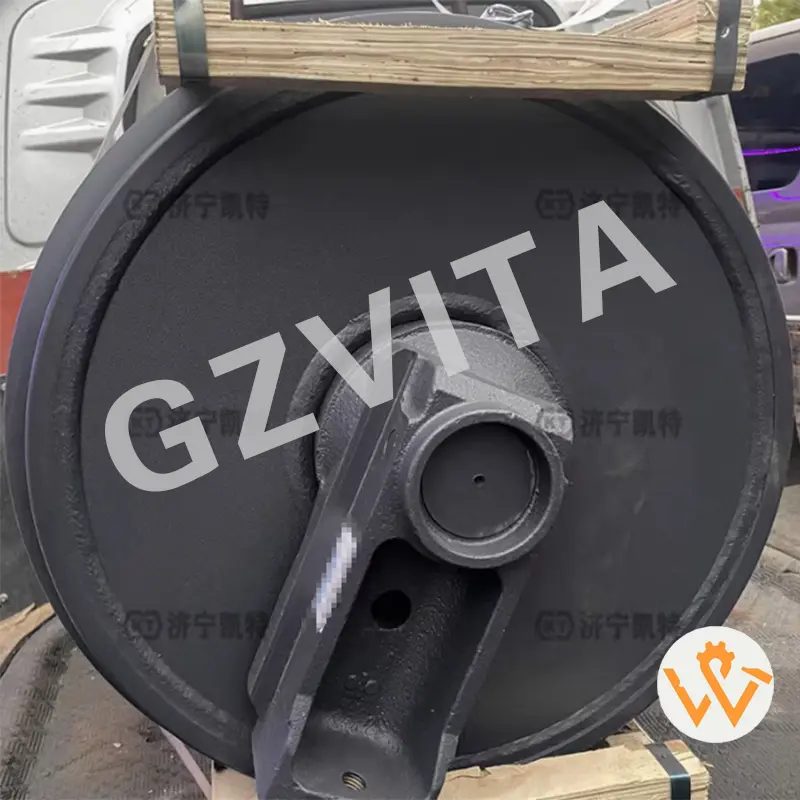
Before use, inspect the bucket for any signs of wear, damage, or loose components. Check the cutting edge and teeth for wear and ensure they are securely attached. Additionally, ensure that the hydraulic connections to the bucket are secure and free of leaks.
Set the excavator to the appropriate mode for the task at hand. This may include adjusting the hydraulic flow rate or sensitivity settings to match the bucket's requirements.
Position the excavator close to the work area, ensuring that you have a clear line of sight and enough space to operate. Make sure the ground is stable and level.
Use the joystick controls to lower the bucket to the ground. Ensure that the bucket is flat against the surface for effective digging.
To dig, pull the bucket towards you while simultaneously lowering it into the material. Use a smooth, controlled motion to avoid sudden jerks that could damage the bucket or the machine.
Once the bucket is filled, raise it by pulling back on the joystick. Ensure that the load is balanced and that you maintain control of the excavator.
When moving to a new location, keep the bucket close to the ground to maintain stability and visibility. Avoid lifting the bucket too high, as this can affect the center of gravity and increase the risk of tipping.
Position the bucket over the desired dumping area. Tilt the bucket forward using the joystick to release the load. Ensure that the area is clear of obstacles and personnel before dumping.
Continue the digging, lifting, and dumping process as needed. Maintain awareness of your surroundings and adjust your operations based on the terrain and material conditions.
After work, inspect the bucket and excavator for wear or damage. Clean the bucket to remove debris and prevent corrosion. Follow the manufacturer's recommendations for regular maintenance, including checking the cutting edge and teeth, lubricating moving parts, and inspecting hydraulic connections.

QWhat makes a heavy-duty bucket different from standard excavator buckets?
Heavy-duty buckets are built with thicker plates and stronger reinforced materials to handle tougher applications like hard soil, rocks, gravel, and heavy demolition debris without excessive wear.
QWhy should I keep the bucket close to the ground during transport?
Keeping the bucket low to the ground keeps the excavator's center of gravity stable, improves visibility for the operator, and minimizes the risk of tipping over when moving across uneven job sites.
QHow do I prevent sudden damage to the heavy-duty bucket during digging?
Ensure the bucket is flat against the ground when starting, and pull the bucket towards you using a smooth, steady, and controlled joystick motion. Avoid sudden jerks and forcing the bucket past its limits.
QWhat pre-operation checks are essential for safe operation?
Always inspect the bucket for cracks, structural wear, or loose parts. Specifically check that the cutting edge and teeth are firmly attached, and that there are no leaks in the hydraulic lines connected to the attachment.
QHow often should I perform maintenance on a heavy-duty bucket?
You should check for wear and clean debris daily. Regularly follow the manufacturer's maintenance schedule for deeper inspections, which includes lubricating moving parts and replacing worn teeth or cutting edges.