The Installation Data of the Final Drive in Excavators
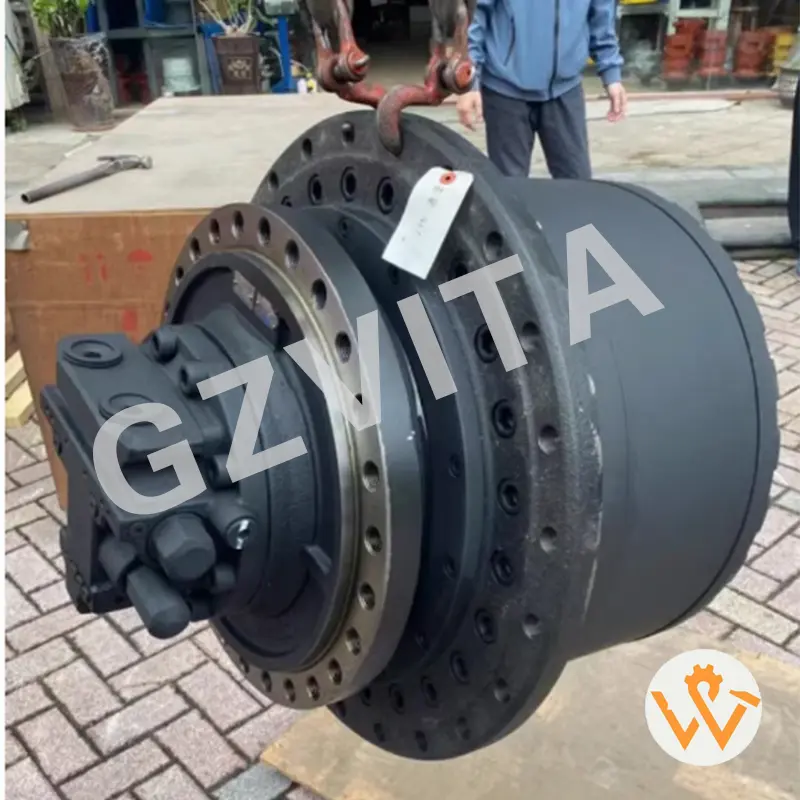
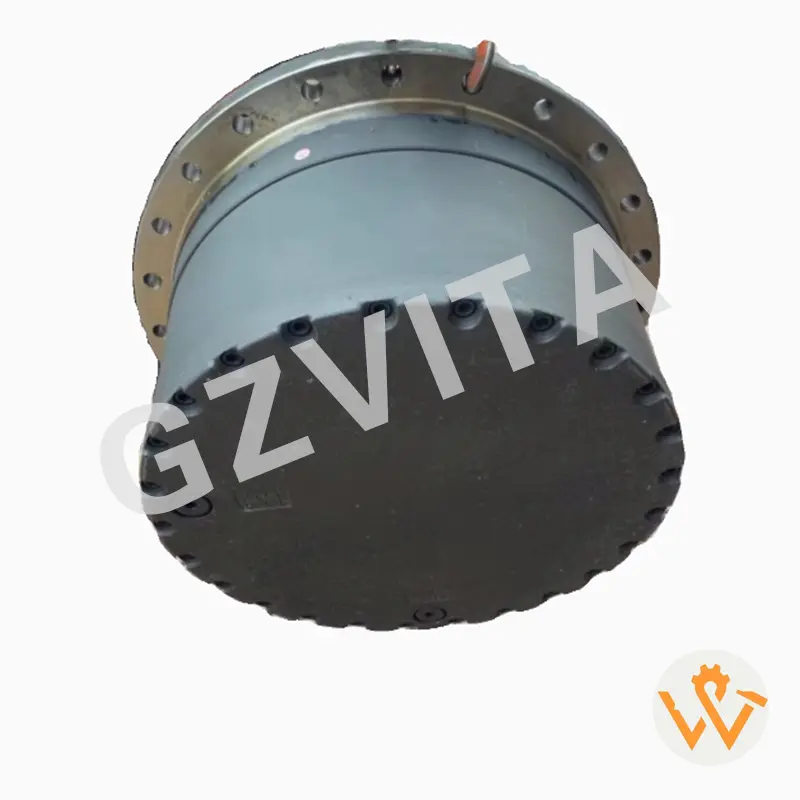
The final drive is a critical component in excavators, responsible for transmitting power from the hydraulic motor to the tracks or wheels, enabling movement and operation. Proper installation of the final drive is essential for optimal performance and longevity of the excavator. Here are key considerations and data related to the installation of the final drive in excavators:
-
Component Inspection
Before installation, inspect the final drive and associated components for any signs of damage or wear. Ensure that all parts are clean and free from debris.
-
Alignment Check
Verify that the mounting surfaces are clean and properly aligned to prevent misalignment during installation.
-
Positioning
Carefully position the final drive onto the excavator's frame, ensuring that it aligns with the mounting points.
-
Bolting
Use the specified torque settings for the bolts to secure the final drive. Refer to the manufacturer's specifications for the correct torque values to avoid over-tightening or under-tightening.
-
Hydraulic Connections
Connect the hydraulic lines to the final drive, ensuring that they are properly secured and free from leaks. Use appropriate fittings and seals as recommended by the manufacturer.
-
Functional Testing
After installation, conduct a functional test of the final drive. Check for smooth operation and listen for any unusual noises that may indicate issues.
-
Calibration
If applicable, calibrate the final drive according to the manufacturer's guidelines to ensure optimal performance and efficiency.
-
Regular Inspections
Schedule regular inspections of the final drive to check for wear and tear, fluid levels, and any signs of leakage.
-
Lubrication
Ensure that the final drive is properly lubricated according to the manufacturer's recommendations to prevent overheating and premature wear.
-
Installation Records
Keep detailed records of the installation process, including torque settings, hydraulic connections, and any adjustments made. This documentation can be valuable for future maintenance and troubleshooting.
Conclusion
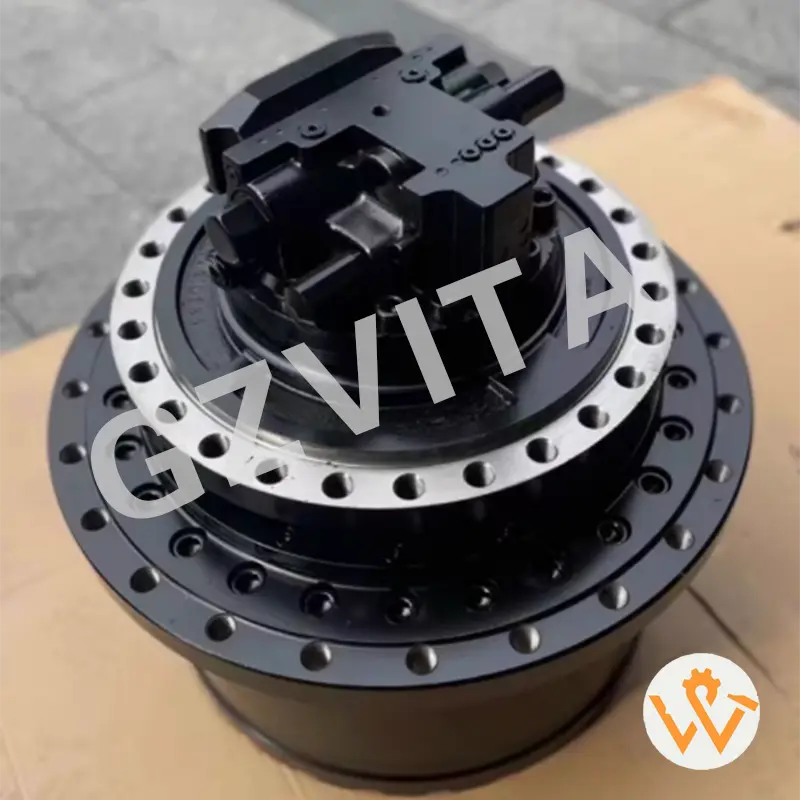
The installation of the final drive in excavators is a critical process that requires attention to detail and adherence to manufacturer specifications. Proper installation ensures the efficient operation of the excavator, contributing to its overall performance and longevity. By following the outlined steps and maintaining regular inspections, operators can maximize the effectiveness of their excavators and minimize downtime.
Frequently Asked Questions
Why is correct bolt torque critical during excavator final drive installation?
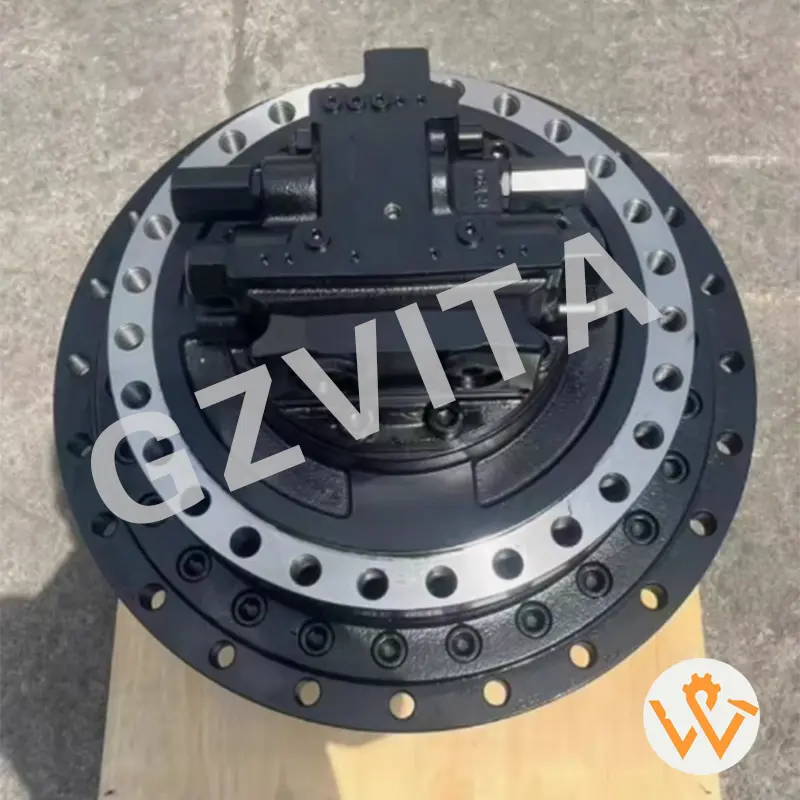
Using the precise torque specifications provided by the manufacturer prevents both under-tightening, which can cause the final drive to come loose during operation, and over-tightening, which can damage the mounting bolts and threads.
What should be checked during the preparation phase?
Before mounting, inspect the final drive for wear or transit damage. It is crucial to clean all mounting surfaces thoroughly and ensure they are perfectly aligned to prevent structural stress and premature failure.
How do I prevent hydraulic leaks after installation?
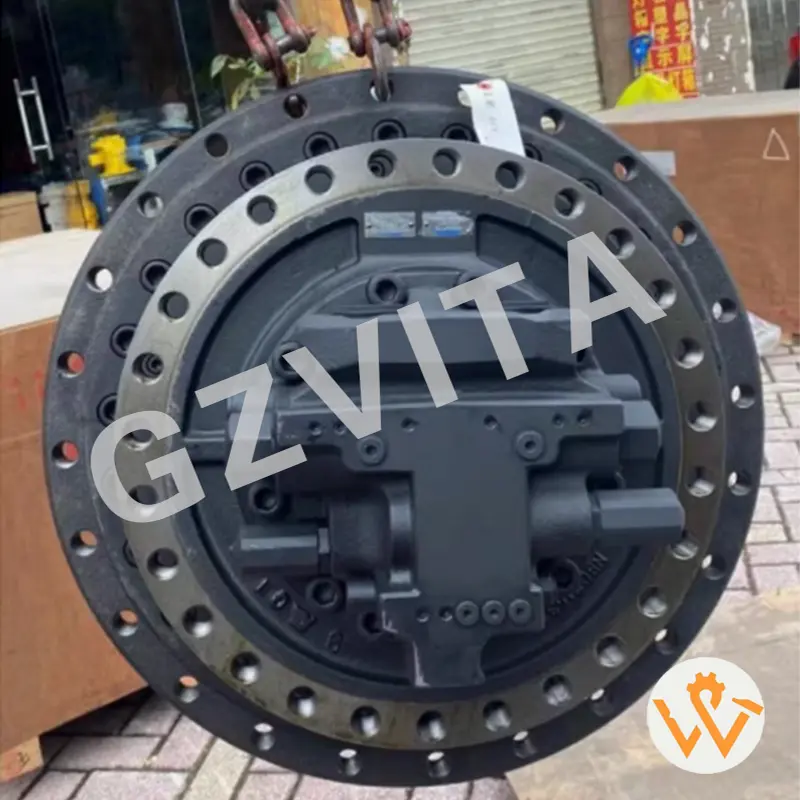
Always use the manufacturer-recommended seals and fittings when connecting the hydraulic lines. Ensure that all connections are tightened to specification and visually inspected during the initial functional test.
What post-installation testing is required?
Perform a functional test to check for smooth movement of the tracks or wheels. Listen closely for any unusual noises, such as grinding or whining, which might indicate alignment or lubrication issues. If needed, calibrate the system according to official guidelines.
Why is keeping detailed installation records important?
Documenting torque values, fluid types, hydraulic connection checks, and adjustments provides a reliable baseline for future preventative maintenance, troubleshooting, and warranty validations.