High-Quality SY55 SY65 SY75 YC60 Pilot Valve Assembly Foot Valve Footwork Assy B220401000570 B220401000623 60004101 foot pedal valve Suppliers, Company

Dual-function pedal valve

Travel speed control

Swing brake release

Hydraulic pilot pressure control

Proportional flow regulation

Left travel pedal function

Right travel pedal function

Independent track control

Gradual acceleration/deceleration

Neutral position return spring

Anti-slip pedal surface

Wear-resistant pivot mechanism

Environmental seal protection

Over-center detent mechanism

Pilot pressure feedback

Double-sealing design

Ergonomic pedal angle

Corrosion-resistant coating

Quick response characteristic

Low operation effort design

Vibration damping feature

Temperature resistant seals

Plug-in connector design

Integrated mounting bracket

Field serviceable construction

Compatibility with main control valve

Emergency stop capability

Position sensing technology

Machine control integration

Reliability under harsh conditions

Product Description

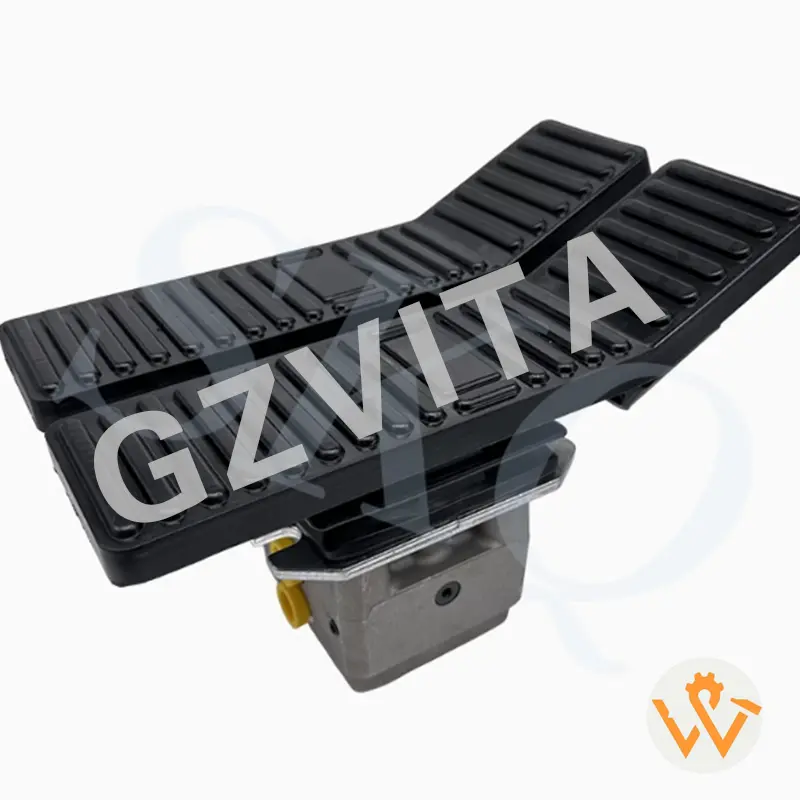
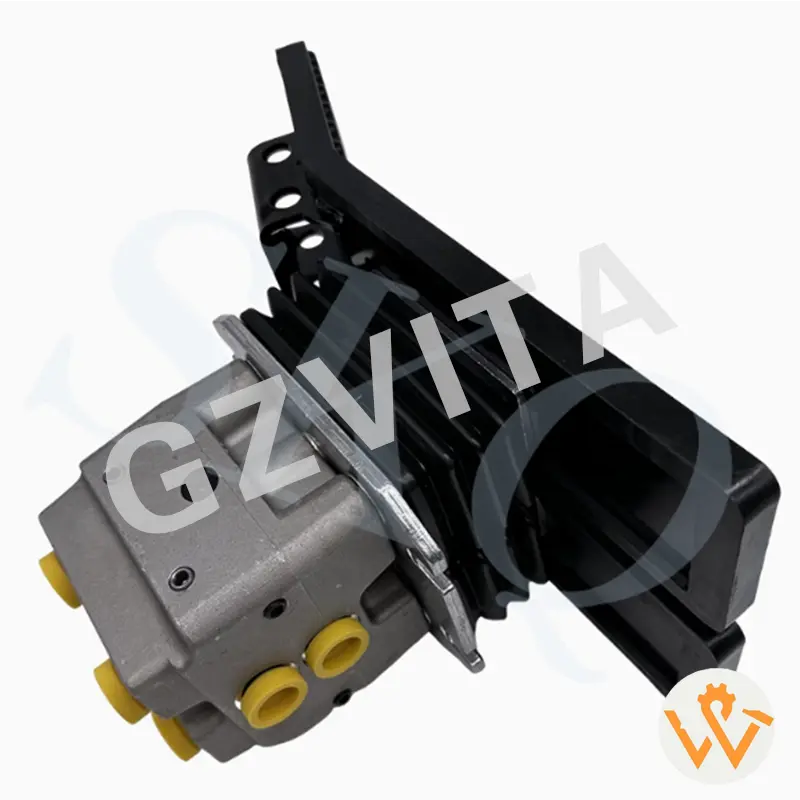
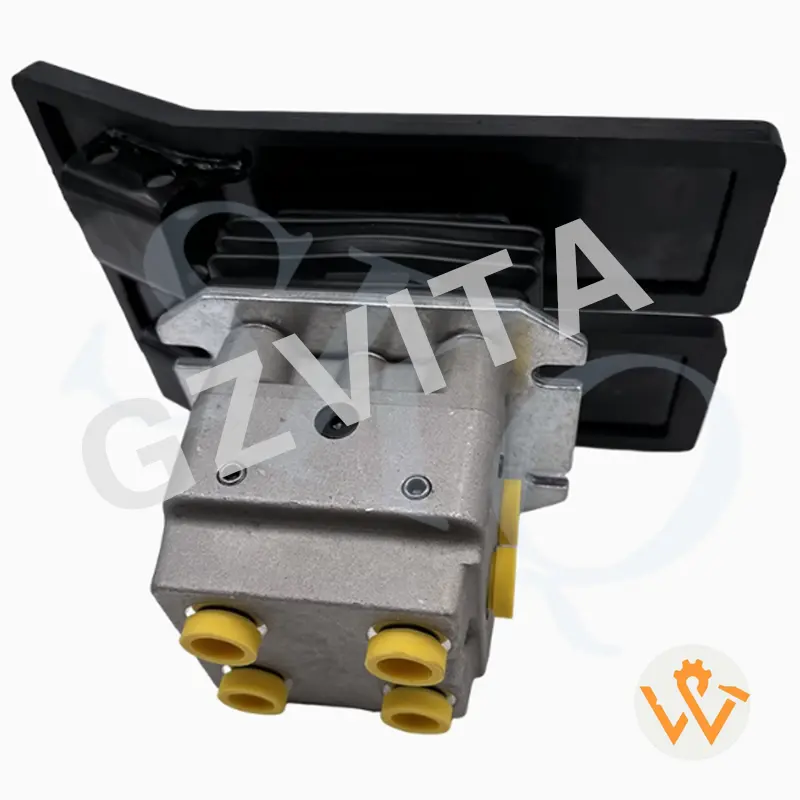
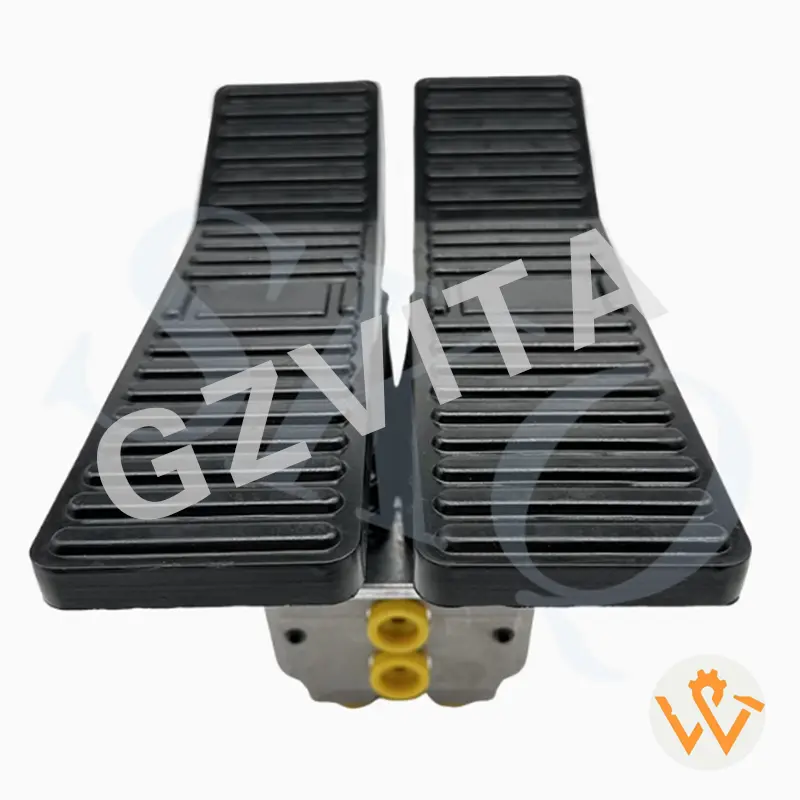
When assembling a foot pedal valve for mini excavators, there are several important considerations and notices to keep in mind to ensure proper installation and functionality:

1. Read the Manual

Always refer to the manufacturer’s assembly manual for specific instructions related to the foot pedal valve. This will provide detailed guidance tailored to the specific model.

2. Check Components

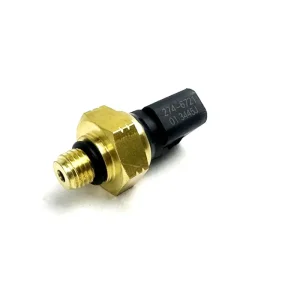
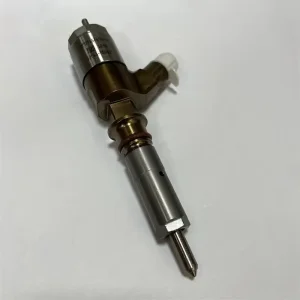
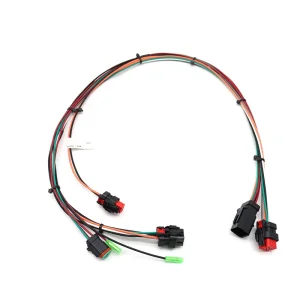
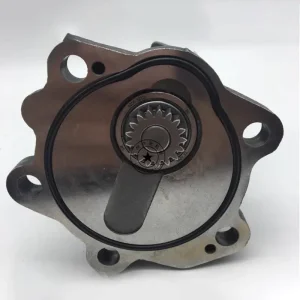
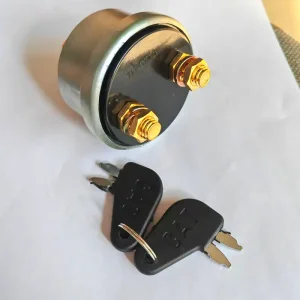
Before starting the assembly, verify that all components are present and in good condition. This includes the foot pedal, valve body, seals, springs, and any necessary fasteners.

3. Clean Work Area

Ensure that the assembly area is clean and free of debris. Contaminants can affect the performance of the valve and lead to malfunctions.

4. Proper Orientation

Pay attention to the orientation of the foot pedal valve during assembly. Incorrect positioning can lead to improper operation or damage to the components.

5. Lubrication

Apply appropriate lubrication to moving parts as specified in the manual. This helps reduce friction and wear during operation.

6. Tightening Specifications

Follow the recommended torque specifications for tightening bolts and screws. Over-tightening can damage components, while under-tightening can lead to leaks or operational issues.

7. Seal Installation

Ensure that all seals and O-rings are properly installed to prevent hydraulic fluid leaks. Check for any signs of wear or damage before installation.

8. Testing

After assembly, conduct a thorough test of the foot pedal valve to ensure it operates smoothly and responds correctly. Check for any leaks or unusual noises.

9. Safety Precautions

Always wear appropriate personal protective equipment (PPE) during assembly. Be cautious of sharp edges and moving parts.

10. Documentation

Keep a record of the assembly process, including any issues encountered and how they were resolved. This can be helpful for future reference or troubleshooting.

By following these notices during the assembly of the foot pedal valve, you can help ensure that it functions correctly and reliably in the mini excavator.

Frequently Asked Questions (FAQ)

Q: Why is reading the manufacturer's manual crucial before assembling the foot pedal valve?
Reading the manual ensures you follow specific guidelines, torque requirements, and alignment steps designed specifically for your mini excavator model, preventing improper installation.
Q: How does a dirty work environment affect the assembly of the valve?
Contaminants like dust, dirt, or metal shavings can easily enter the hydraulic system, compromising seals and causing valve blockage, leaks, or internal component damage.
Q: What are the risks of over-tightening the bolts during assembly?
Over-tightening bolts can strip threads, crack the valve body, or warp internal components, which may lead to operational malfunctions and serious hydraulic leaks.
Q: What should I inspect on the seals and O-rings prior to installation?
Inspect them thoroughly for any cuts, tears, structural deformation, or signs of wear. Damaged seals must be replaced immediately to ensure airtight and leak-free performance.
Q: What testing steps should be taken once the assembly is complete?
Operate the foot pedal manually to check for smooth action and responsiveness. Additionally, run the mini excavator's hydraulic system to monitor for unusual noises and verify there are no active fluid leaks.

Related Products