Wholesale Manufacture Muffler for Excavator EX60-1 4196421 EX60SR Manufacturers, Factory

1.Product name:Muffler

2.Part number:4196421

3.Compatible for: EX60-1 EX60 EX60SR

4.Leading time:In stock

5.Packing way:Neutral packing

Product Description

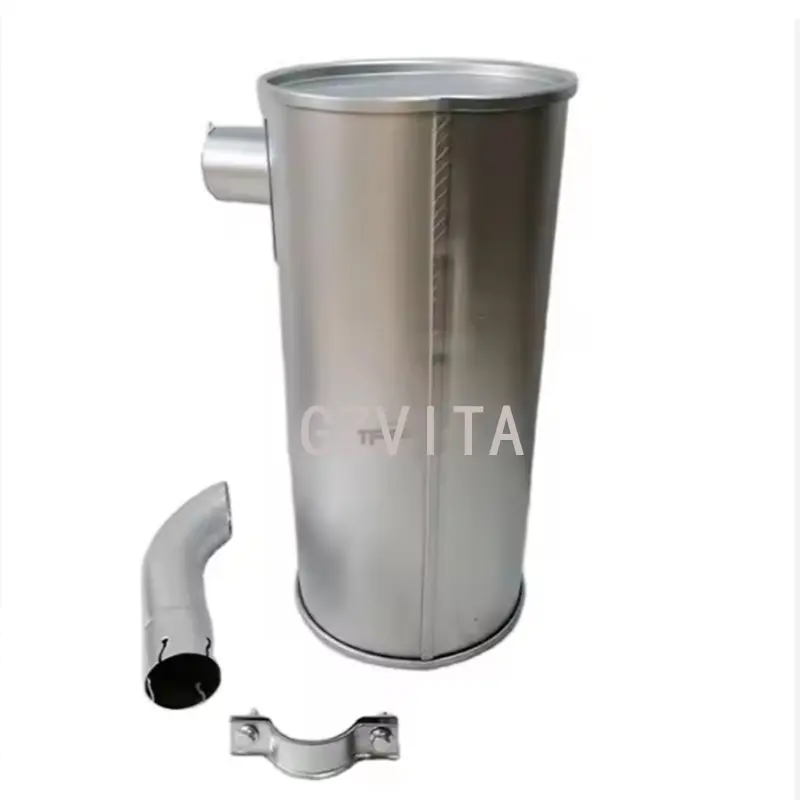
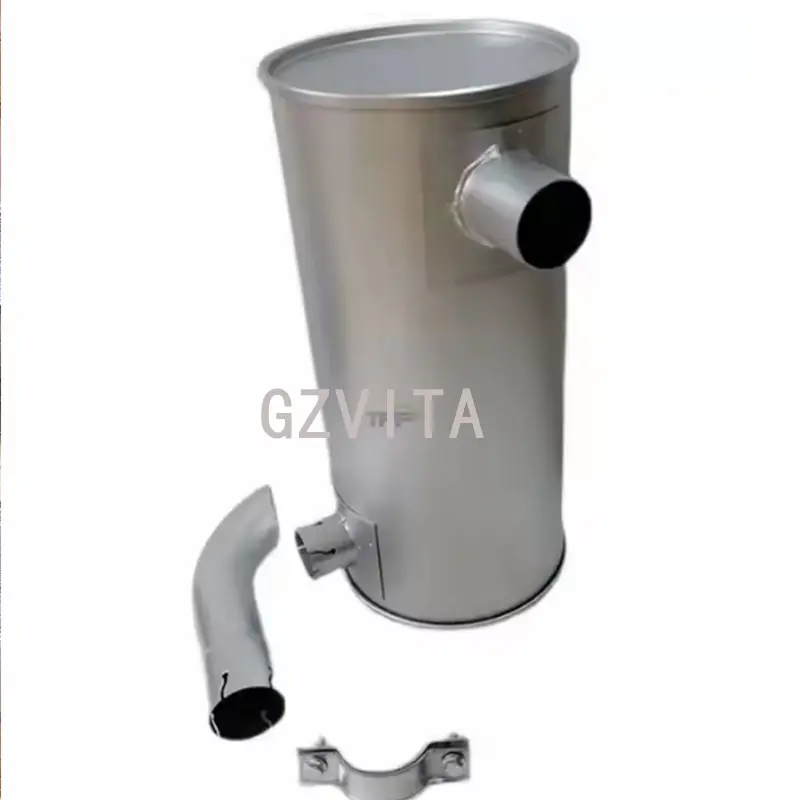
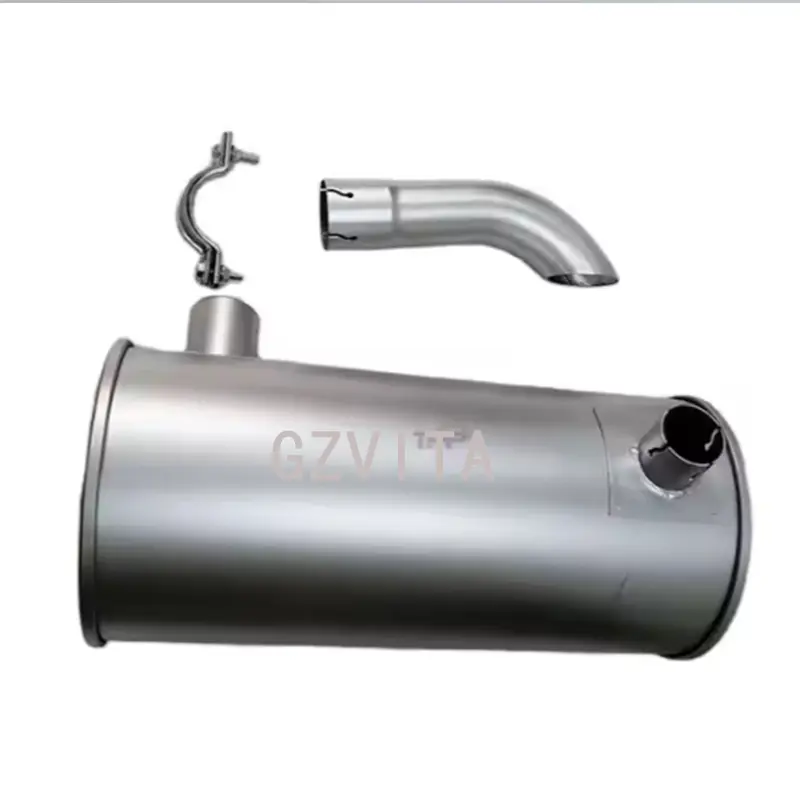
Assembling an excavator muffler typically involves several steps, and the exact process can vary depending on the specific model of the excavator and the design of the muffler. However, here is a general guide to help you through the assembly process:

Tools and Materials Needed
New muffler
Gaskets
Bolts and nuts
Wrenches and sockets
Torque wrench
Screwdriver
Safety gear
Steps to Assemble the Muffler
1

Safety First

Ensure the excavator is turned off and has cooled down. Disconnect the battery to prevent any electrical issues.

2

Remove the Old Muffler

Locate the existing muffler and inspect how it is attached. Remove any bolts or clamps securing the muffler to the exhaust pipe and the mounting brackets. Carefully detach the old muffler from the exhaust system.

3

Prepare the New Muffler

Inspect the new muffler for any damage. If required, install new gaskets on the exhaust pipe and the mounting points to ensure a proper seal.

4

Position the Muffler

Align the new muffler with the exhaust pipe and the mounting brackets. Ensure that it is oriented correctly according to the manufacturer's specifications.

5

Secure the Muffler

Use bolts and nuts to attach the muffler to the exhaust pipe and the mounting brackets. Hand-tighten the bolts first to hold the muffler in place.

6

Tighten the Bolts

Use a torque wrench to tighten the bolts to the manufacturer's specified torque settings. This information can usually be found in the excavator's service manual. Ensure that all connections are secure and there are no loose parts.

7

Check for Proper Alignment

Make sure the muffler is properly aligned and not touching any other components that could cause vibration or damage.

8

Reconnect the Battery

Once the muffler is securely in place, reconnect the battery.

9

Test the Excavator

Start the excavator and let it run for a few minutes. Check for any exhaust leaks around the muffler and ensure that it operates quietly and efficiently.

10

Final Inspection

After testing, perform a final inspection to ensure everything is secure and functioning properly.

Additional Tips:

  • Always refer to the specific service manual for your excavator model for detailed instructions and torque specifications.
  • If you are unsure about any step, consider consulting a professional mechanic or technician.
Frequently Asked Questions (FAQ)
What safety measures should I take before installing an excavator muffler?
Always ensure the excavator is shut down completely and the engine is cool to the touch to prevent burns. Additionally, disconnect the battery to avoid any electrical hazards during the removal and installation process.
Is it necessary to replace the gaskets when replacing a muffler?
Yes, it is highly recommended to install new gaskets on the exhaust pipe and mounting points. Old gaskets are often compressed or degraded, and using them again can cause exhaust leaks.
Why should I use a torque wrench to tighten the muffler bolts?
A torque wrench ensures the bolts are tightened to the specific manufacturer standards. Over-tightening can damage the threads or gaskets, while under-tightening can cause the muffler to come loose due to engine vibrations.
What happens if the muffler is not properly aligned during installation?
Improper alignment can cause the muffler to contact other engine bay components. This can lead to excessive rattling, vibration, and structural wear or heat damage to surrounding parts.
How do I verify that the new muffler has been installed correctly?
After tightening all bolts and reconnecting the battery, start the excavator and let it idle for a few minutes. Check for any noise, unusual vibrations, or exhaust gas leaks around the seals and joints.

Related Products