
1 / 3
Installing a solenoid valve is a critical task in various systems, including hydraulic, pneumatic, and irrigation applications. Here are some tips to ensure a successful installation:
Always start by reading the installation manual provided by the manufacturer. Different solenoid valves may have specific requirements or recommendations.
Install the solenoid valve in a location that is easily accessible for maintenance and inspection. Ensure that the valve is positioned in a way that allows for proper drainage and avoids trapping moisture.
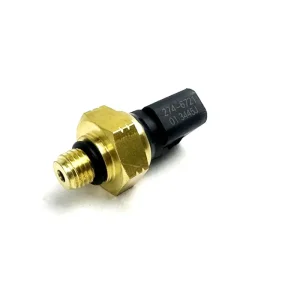
Ensure that the solenoid valve is compatible with the fluid type, pressure, and temperature of your system. Verify the voltage and current ratings if it’s an electric solenoid.
Gather the necessary tools, such as wrenches, screwdrivers, and pliers, before starting the installation. This will help streamline the process.
Clean the threads of the pipe or fitting where the solenoid valve will be installed. Remove any debris, dirt, or old sealant to ensure a good seal.
If required, apply thread sealant or Teflon tape to the threads of the solenoid valve to prevent leaks. Be careful not to overapply, as this can lead to debris entering the system.
Screw the solenoid valve into the pipe or fitting by hand, then use a wrench to tighten it securely. Avoid overtightening, which can damage the valve or fittings.
Ensure that the solenoid valve is installed in the correct flow direction. Most valves have an arrow indicating the direction of flow; make sure it aligns with your system.
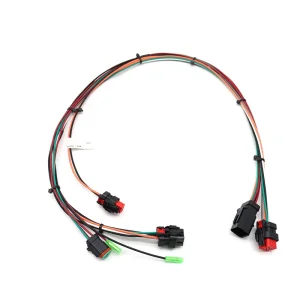
Connect the electrical wires according to the manufacturer’s instructions. Ensure the power supply is turned off. Use appropriate connectors to prevent short circuits.
Once the installation is complete, turn on the system and check for leaks around the solenoid valve. If you notice any leaks, turn off the system and tighten connections.
Activate the solenoid valve to ensure it opens and closes properly. Monitor its operation to confirm that it functions as intended.
Schedule regular maintenance checks to ensure the solenoid valve continues to operate efficiently. Look for signs of wear, corrosion, or leaks.
Most solenoid valves are designed to operate with fluid flowing in one specific direction. Installing the valve backwards can prevent it from sealing properly or cause complete operational failure. Always align the valve body arrow with the flow direction of your system.
Ensure the valve's materials are compatible with the type of fluid (or gas) running through the system, and that it supports the system's operational pressure and temperature. For electric solenoids, always verify that the power source matches the voltage and current specifications.
Clean the pipe threads thoroughly before starting. If specified by the manufacturer, apply a proper amount of thread sealant or Teflon tape. Be careful not to over-apply sealant, as excess material can break free and clog internal valve components.
Make sure the system power supply is completely switched off before handling electrical connections. Use appropriate, secure connectors and insulate all wiring properly to protect against short circuits and moisture intrusion.
Periodic maintenance checks should be scheduled based on system usage. Regularly inspect the valve for leaks, visible signs of wear, or corrosion to ensure continuous, safe, and efficient performance.